Mastering SwitchX: 2 essential rules
Switch anything. Keep what matters.
When we built SwitchX, we designed it for one thing: control.
If you want clean, production-ready results, everything comes down to two essential principles:
- Master your mask.
- Perfect your reference image.
That's it.
Let's break it down.
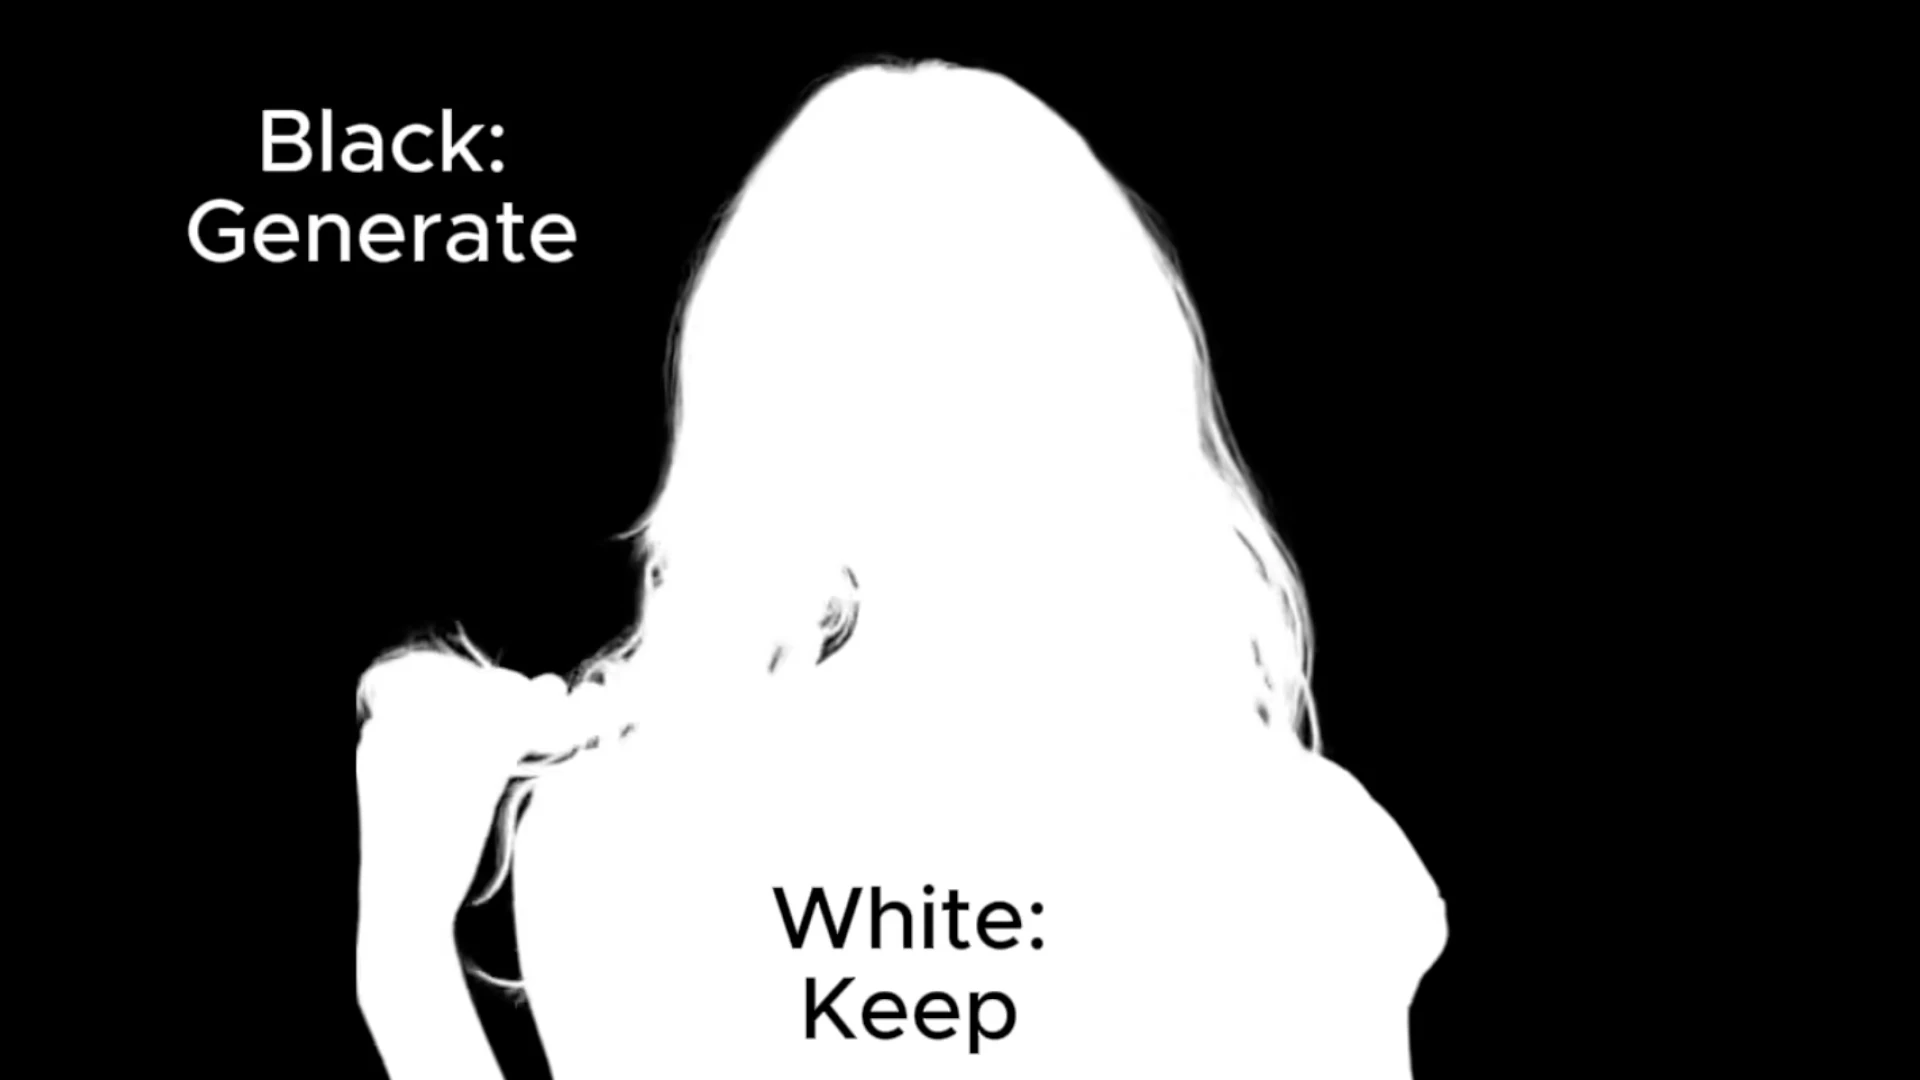
RULE #1: MASTER YOUR ALPHA MASK
Masking is the foundation of your result.
SwitchX needs to know what you want to preserve. Even if you use the same footage, prompt, and reference image, a different mask can completely change the outcome.
There are four ways to work with masks inside SwitchX.
Auto mode
Auto mode is the fastest way to begin. SwitchX automatically detects and isolates the main subject.

From there, you can:
- Replace the background.
- Change the lighting.
- Drop your subject into a virtual production environment.
It's ideal when your subject is clearly separated, and you want fast, reliable results without manual setup.
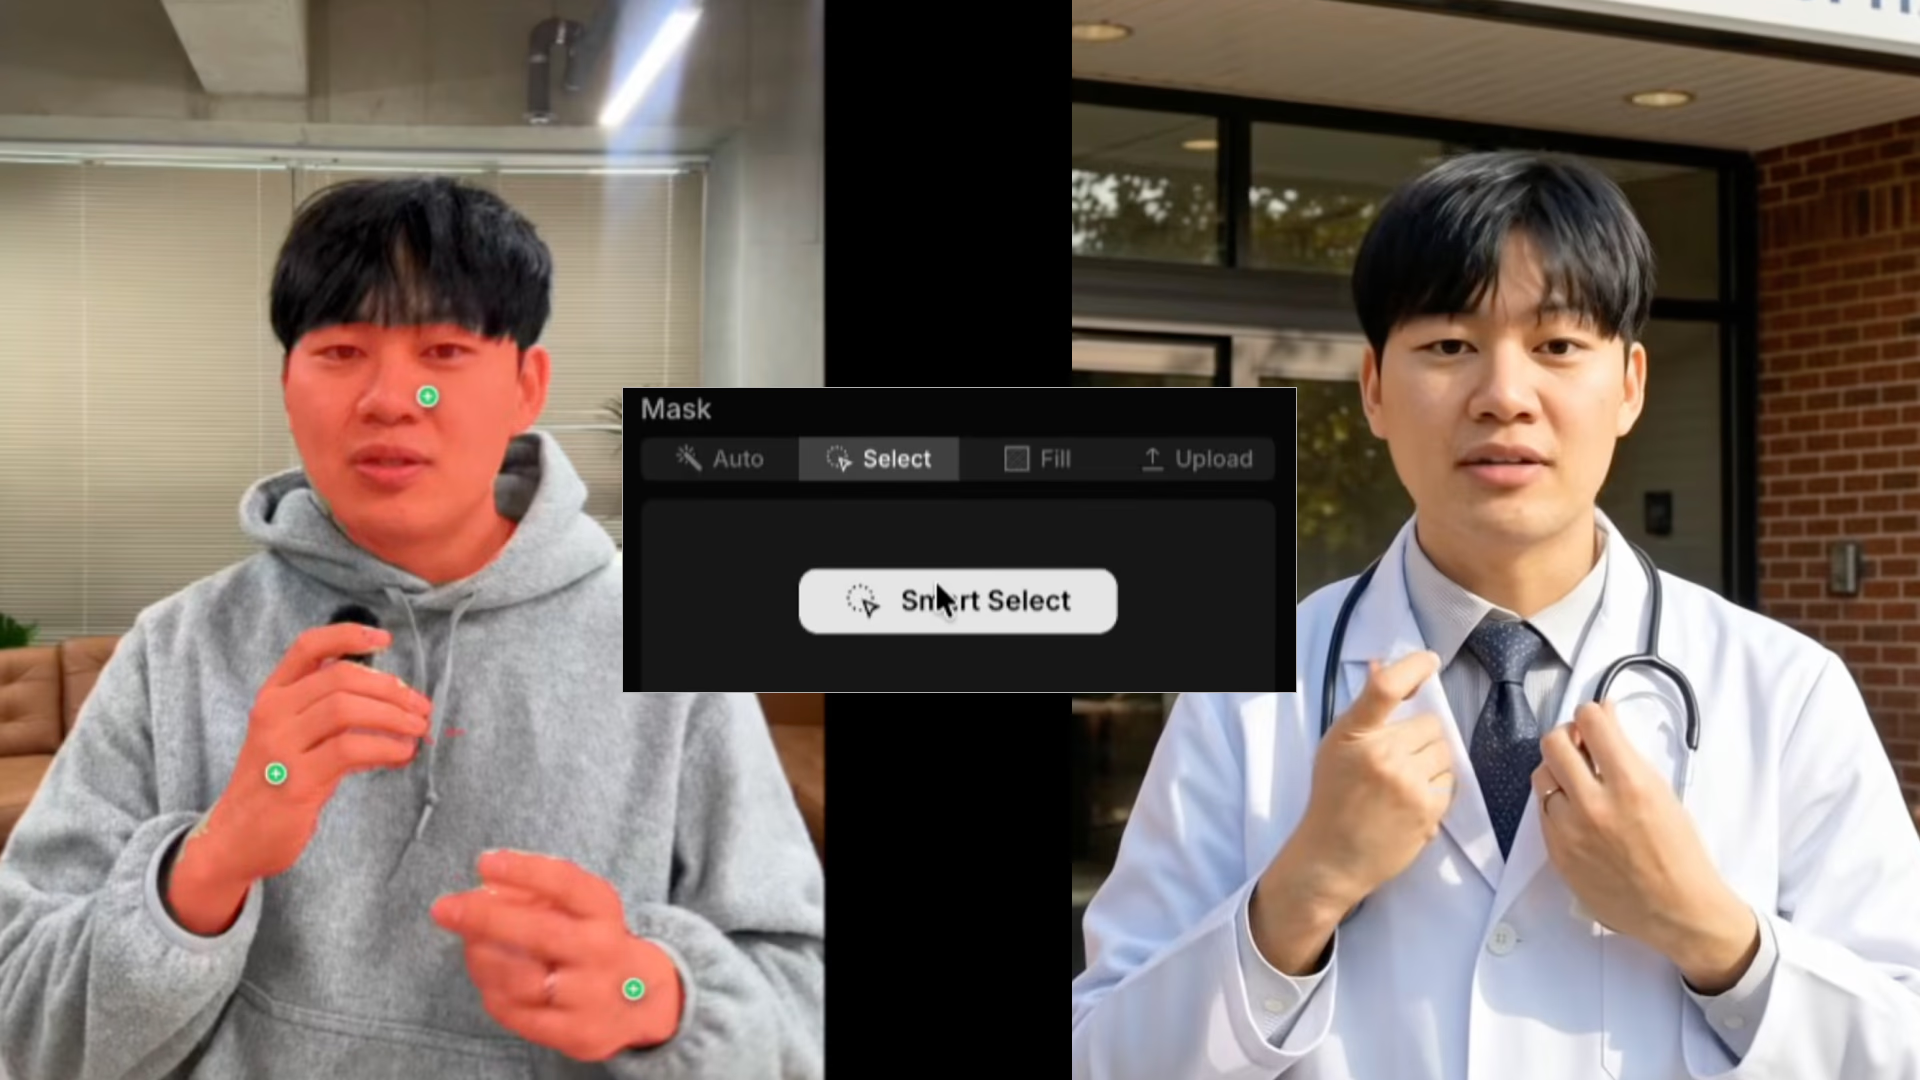
Select mode
Instead of letting the system decide, you tell it exactly what to keep. You can isolate a face, hands, or any object in the frame, preserving identity while transforming everything else.
Imagine changing a casual outfit into a doctor's coat while placing the subject inside a hospital. By protecting the face and hands, you keep recognizability intact while the world around it transforms.
This is also where more advanced workflows open up. You can combine masks, invert them, or isolate multiple elements to support inpainting-style edits and more complex composites.
Advanced masking options include:
- Add multiple objects
- Invert masks
- Combine regions
- Use for inpainting workflows
This is where professionals unlock full creative control.
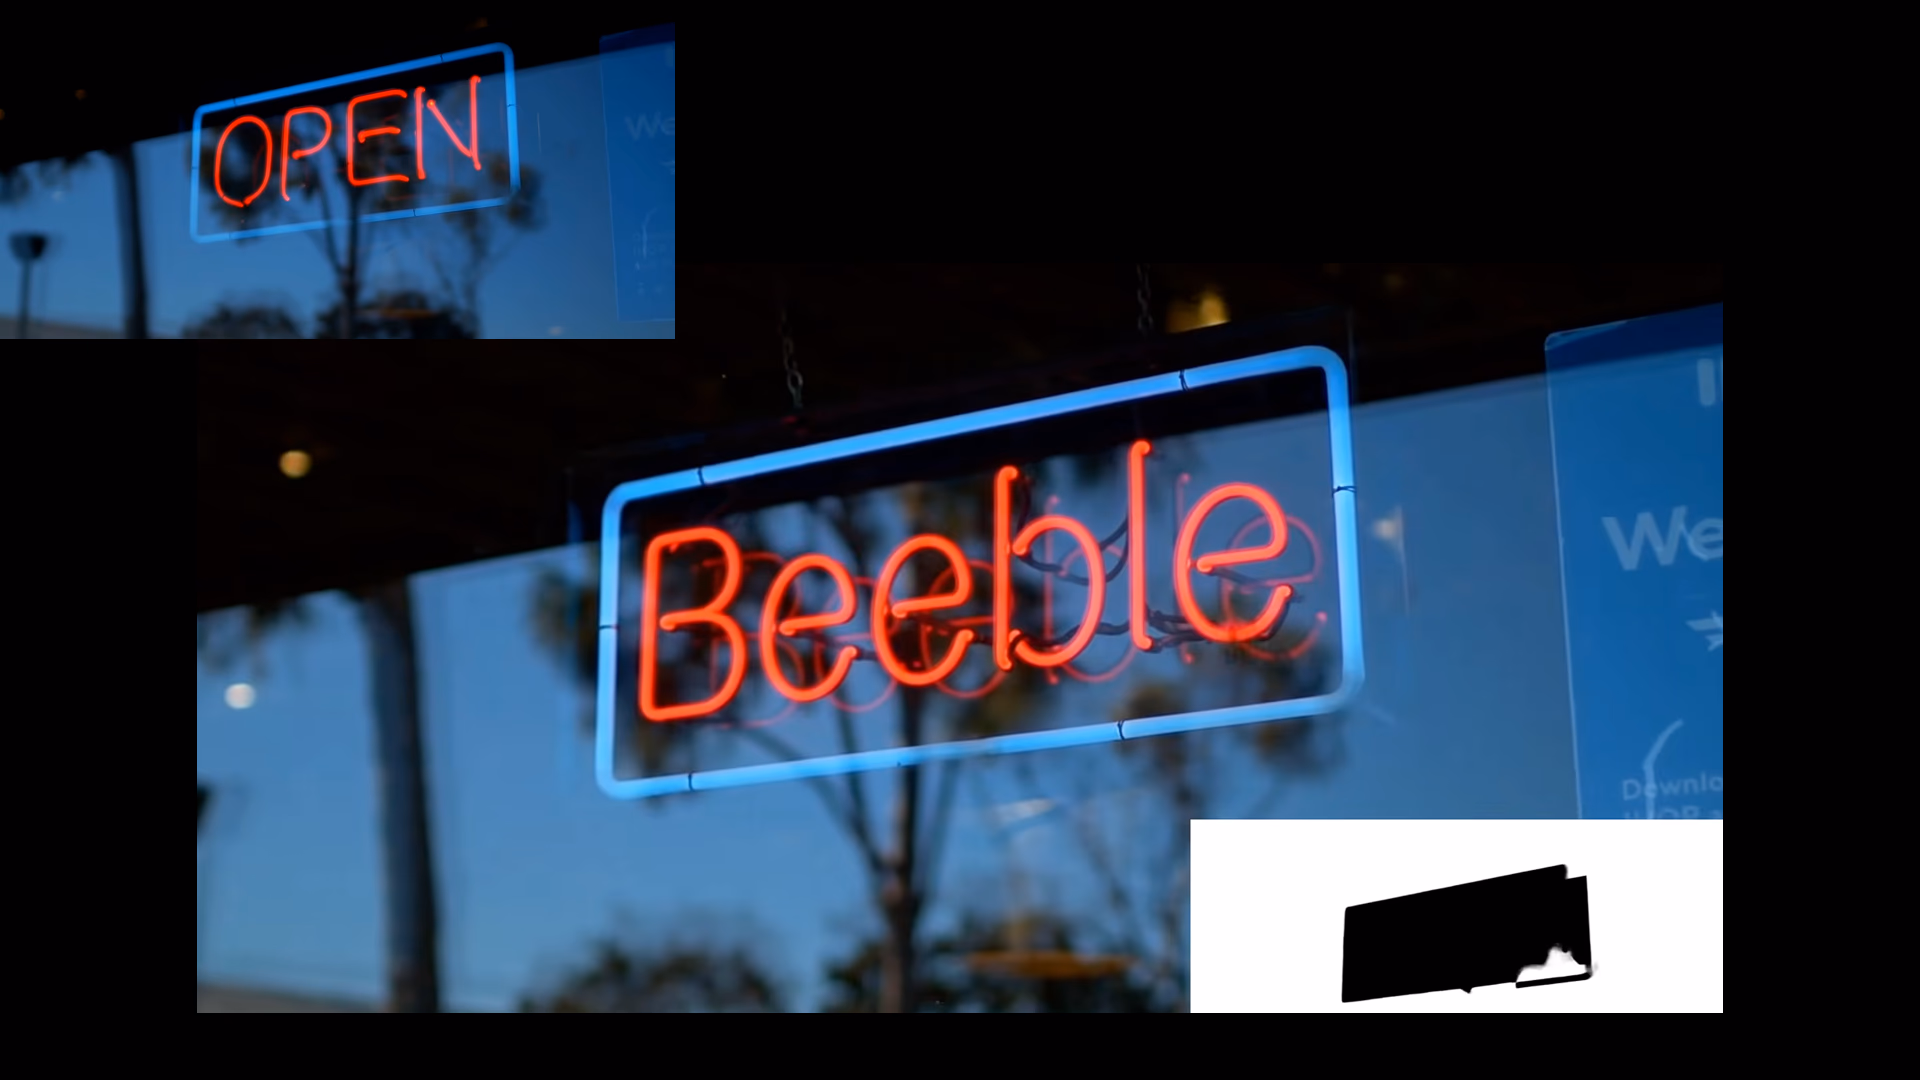
Fill mode
Fill mode takes a different approach.
Instead of selecting part of the frame, you select all of it — and tell SwitchX to keep the structure while shifting the lighting or style.
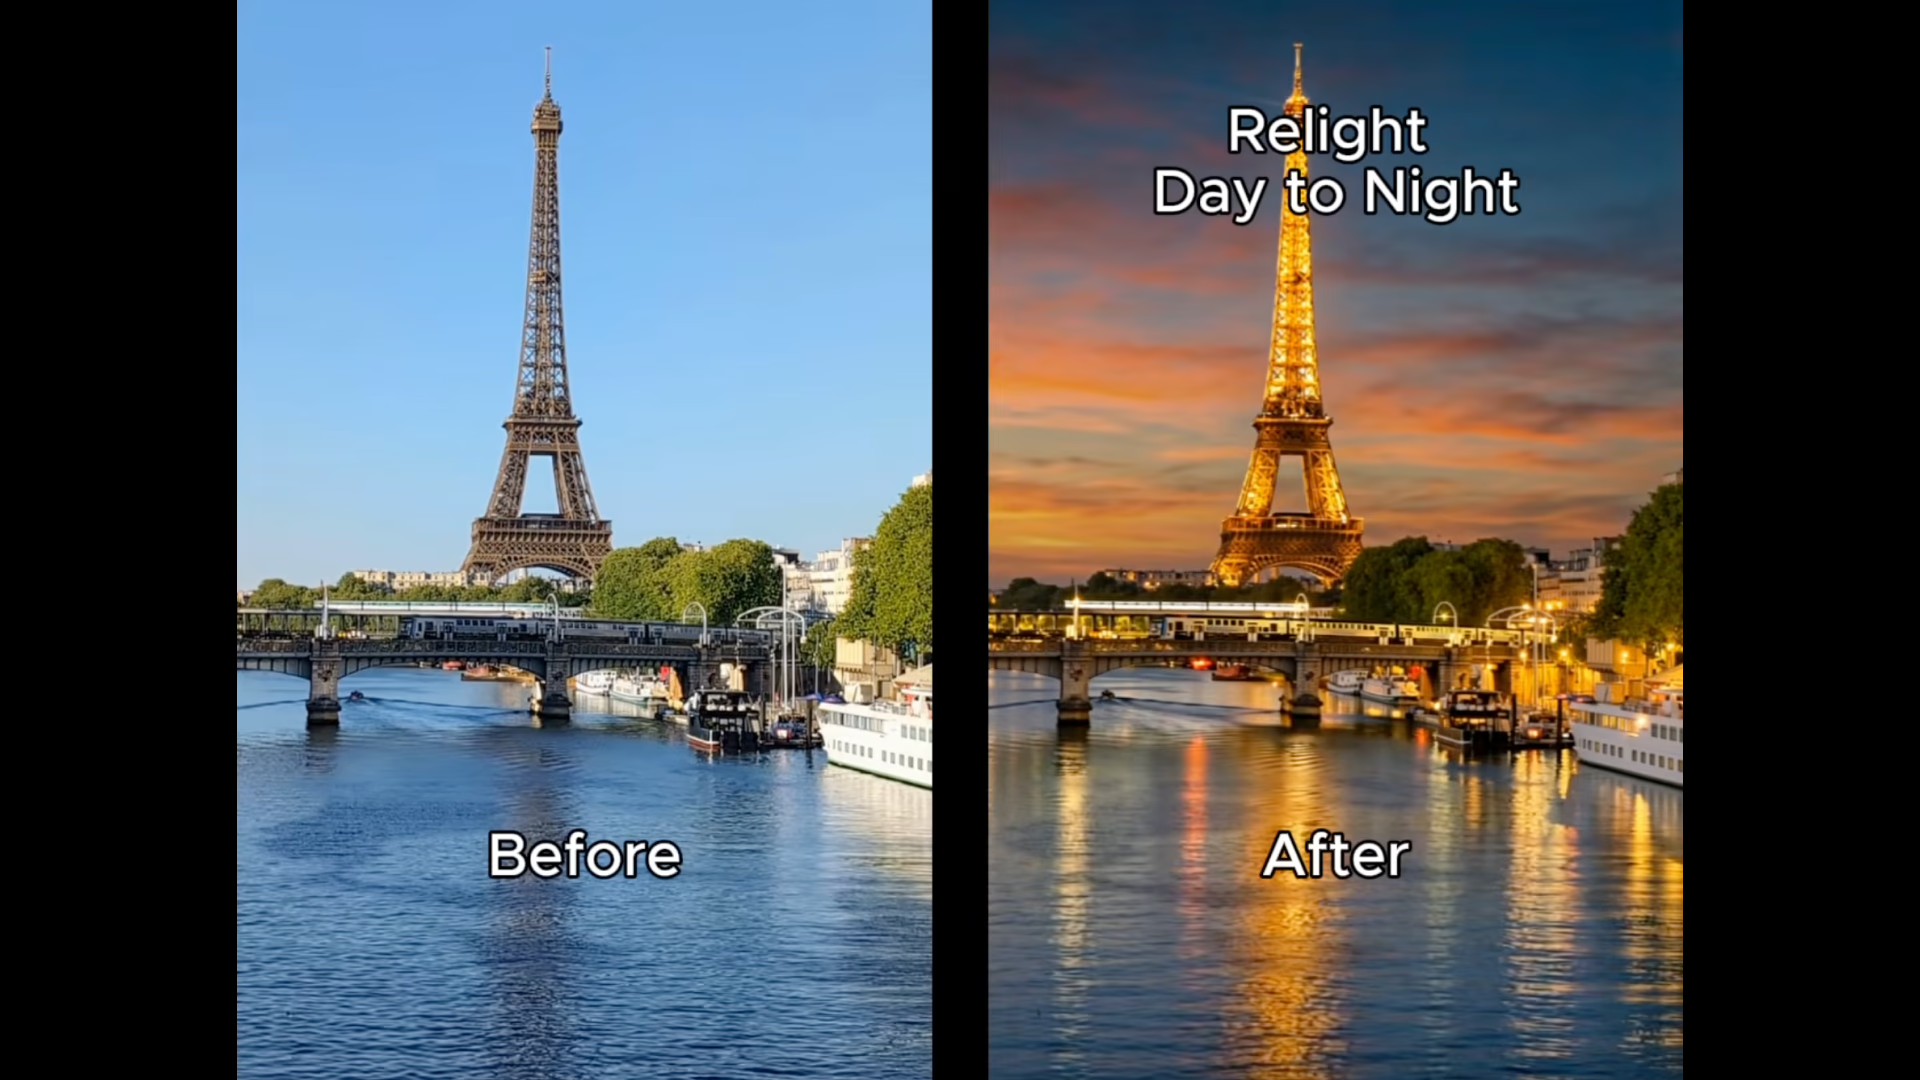
This is perfect when you don't want to replace objects or environments, but you do want to transform the mood. Turn midday into dusk. Make flat lighting cinematic. Restyle an entire scene without altering its physical layout.
Everything stays. The atmosphere changes.
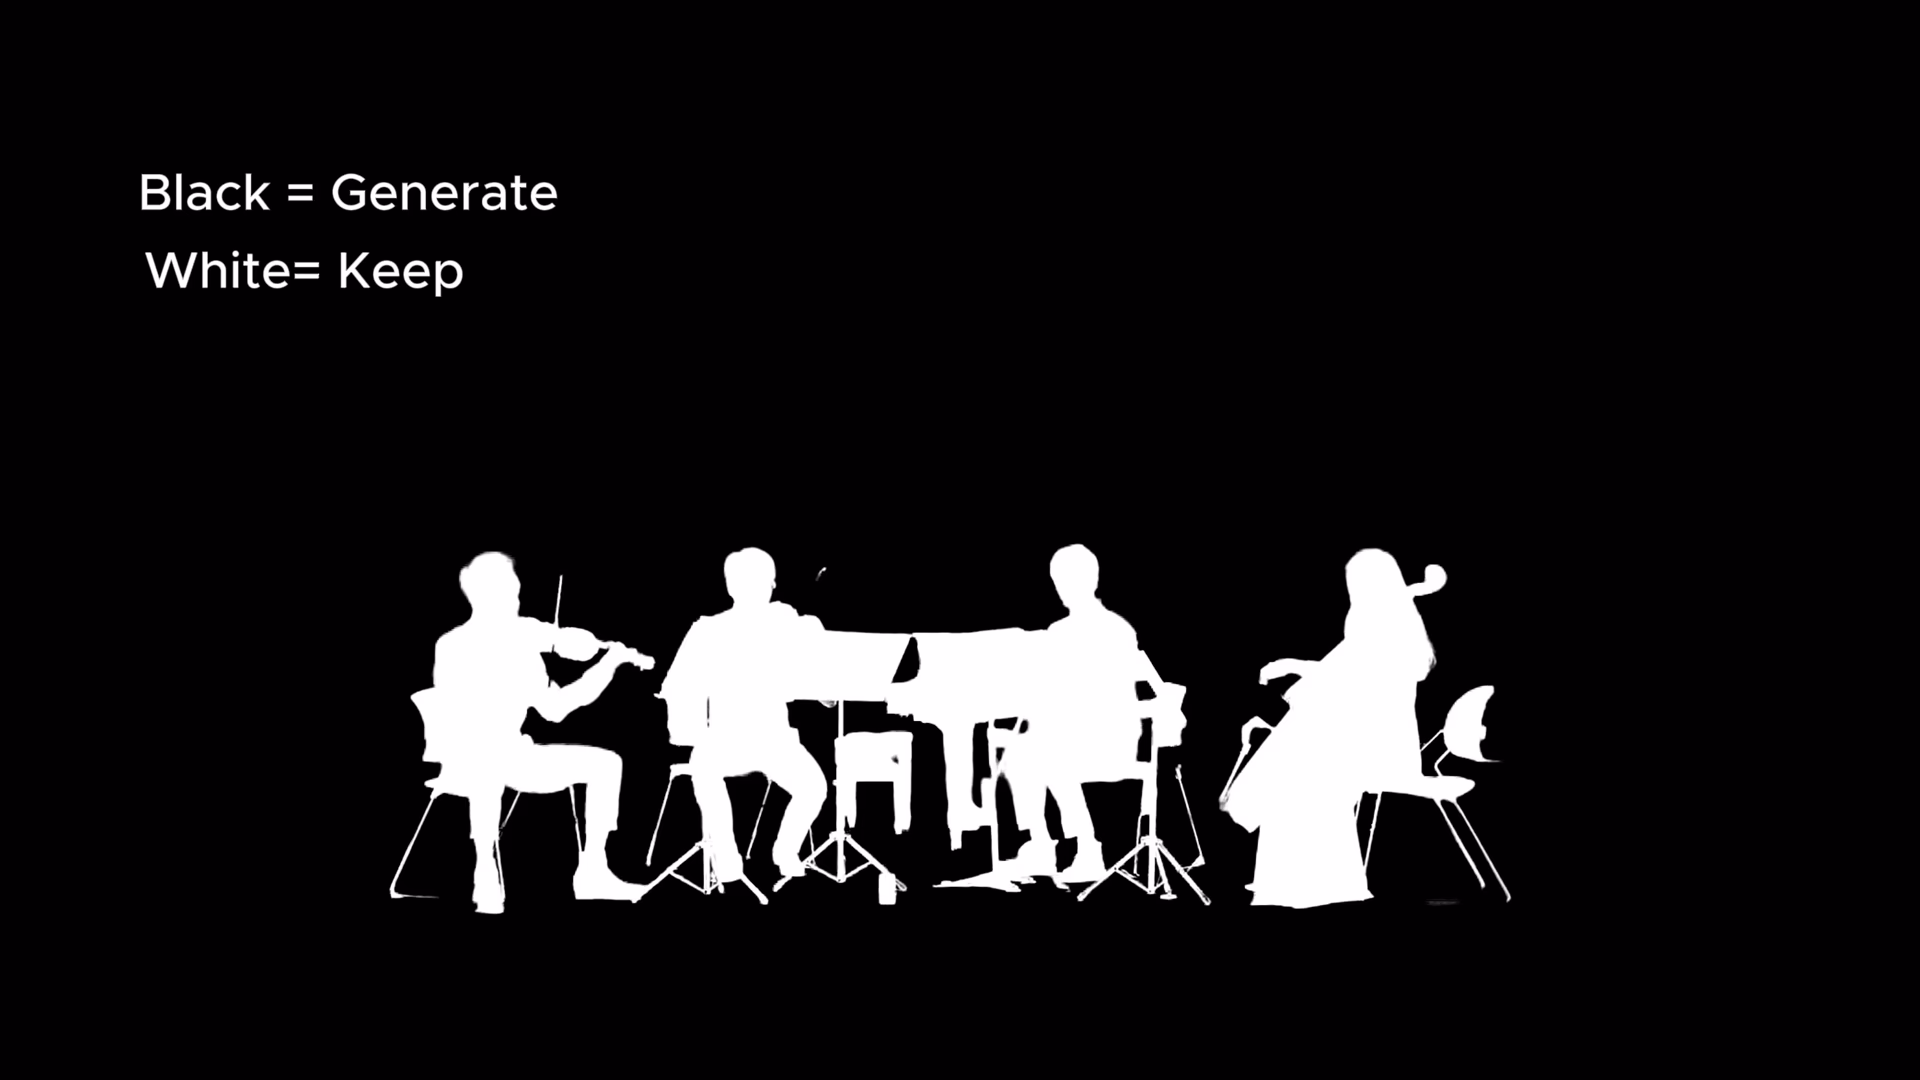
Upload mode
For full production control, Upload mode lets you bring your own black-and-white alpha map video, exported from tools like Nuke or Adobe After Effects.
This gives you frame-by-frame, pixel-level authority over what stays and what changes.
If you're working in a professional VFX pipeline, this is where SwitchX becomes deeply integrated rather than experimental.
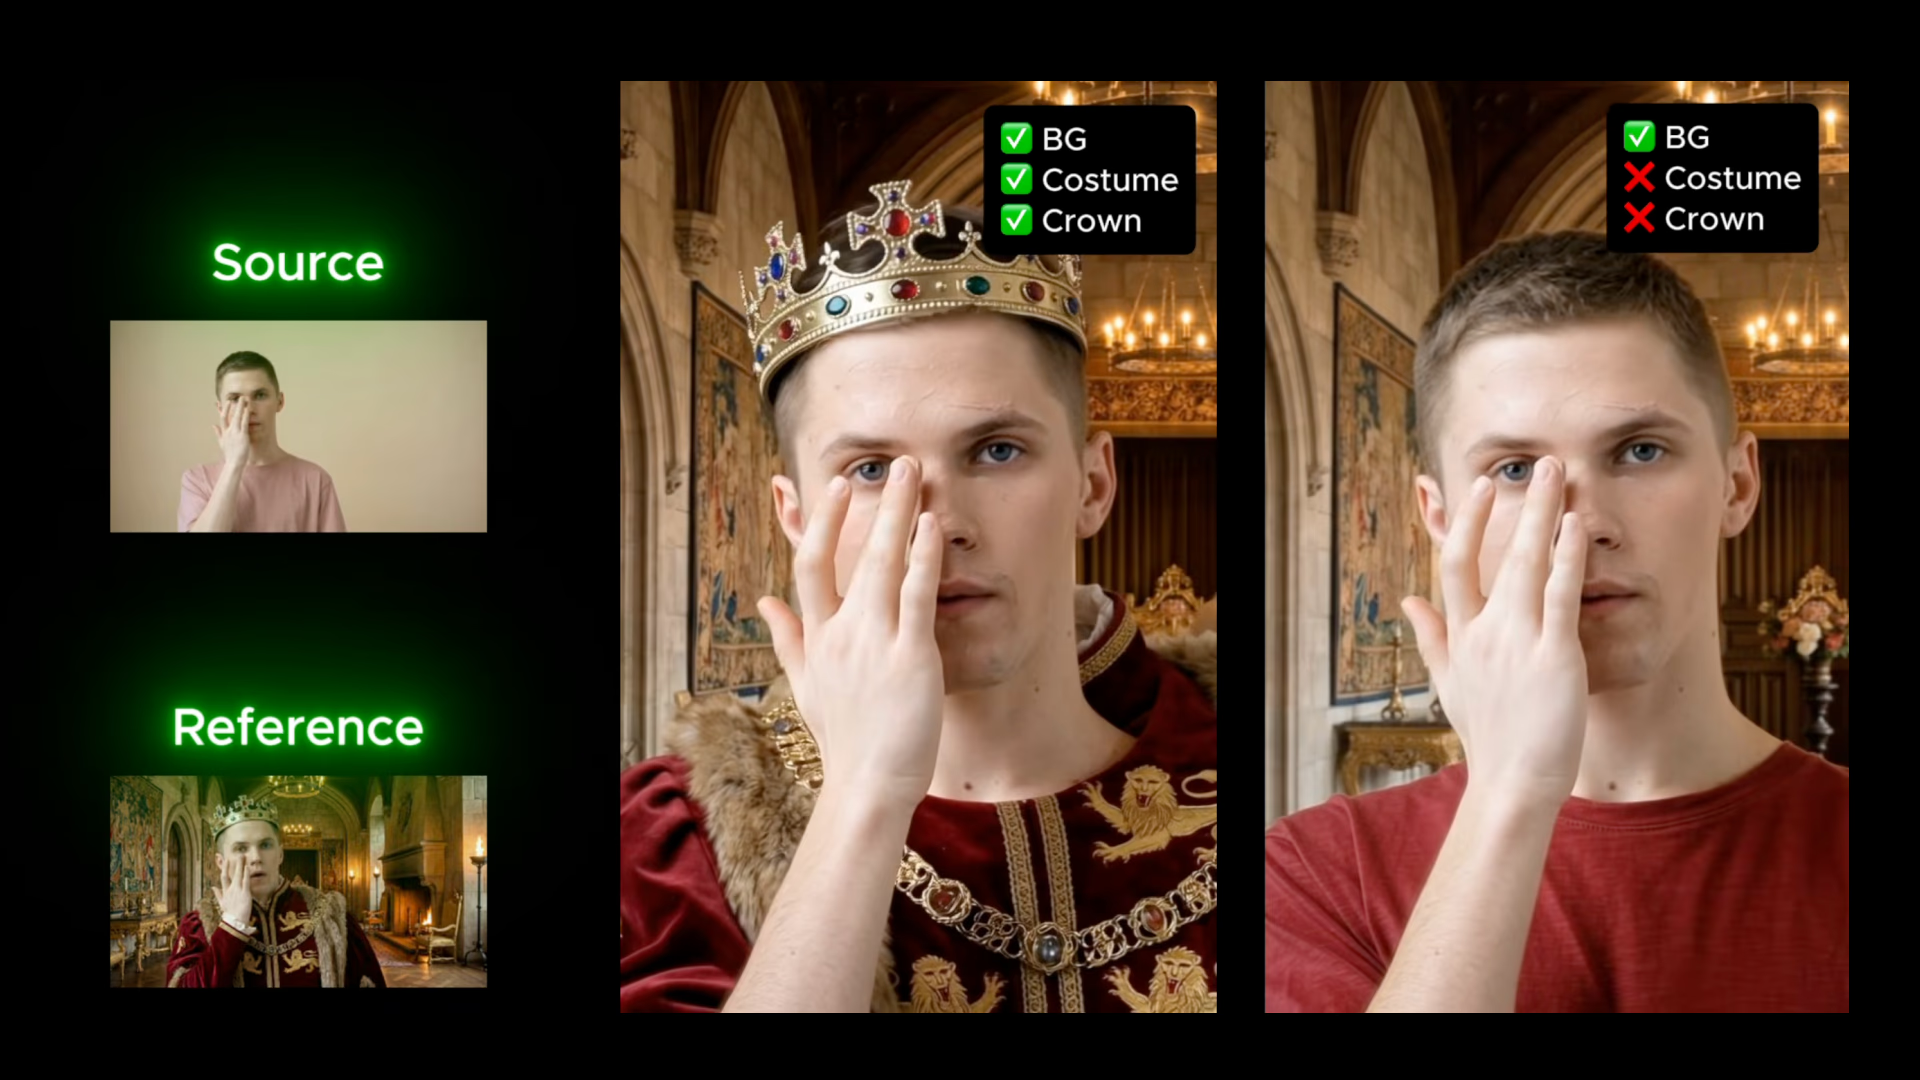
RULE #2: PERFECT YOUR REFERENCE IMAGE
Once your mask defines structure, your reference image defines intent.
Think of it as a visual contract.
Your reference should clearly describe the world you want: lighting direction, mood, background, color grade, costumes, and atmosphere. The more complete it is, the more predictable your result becomes.
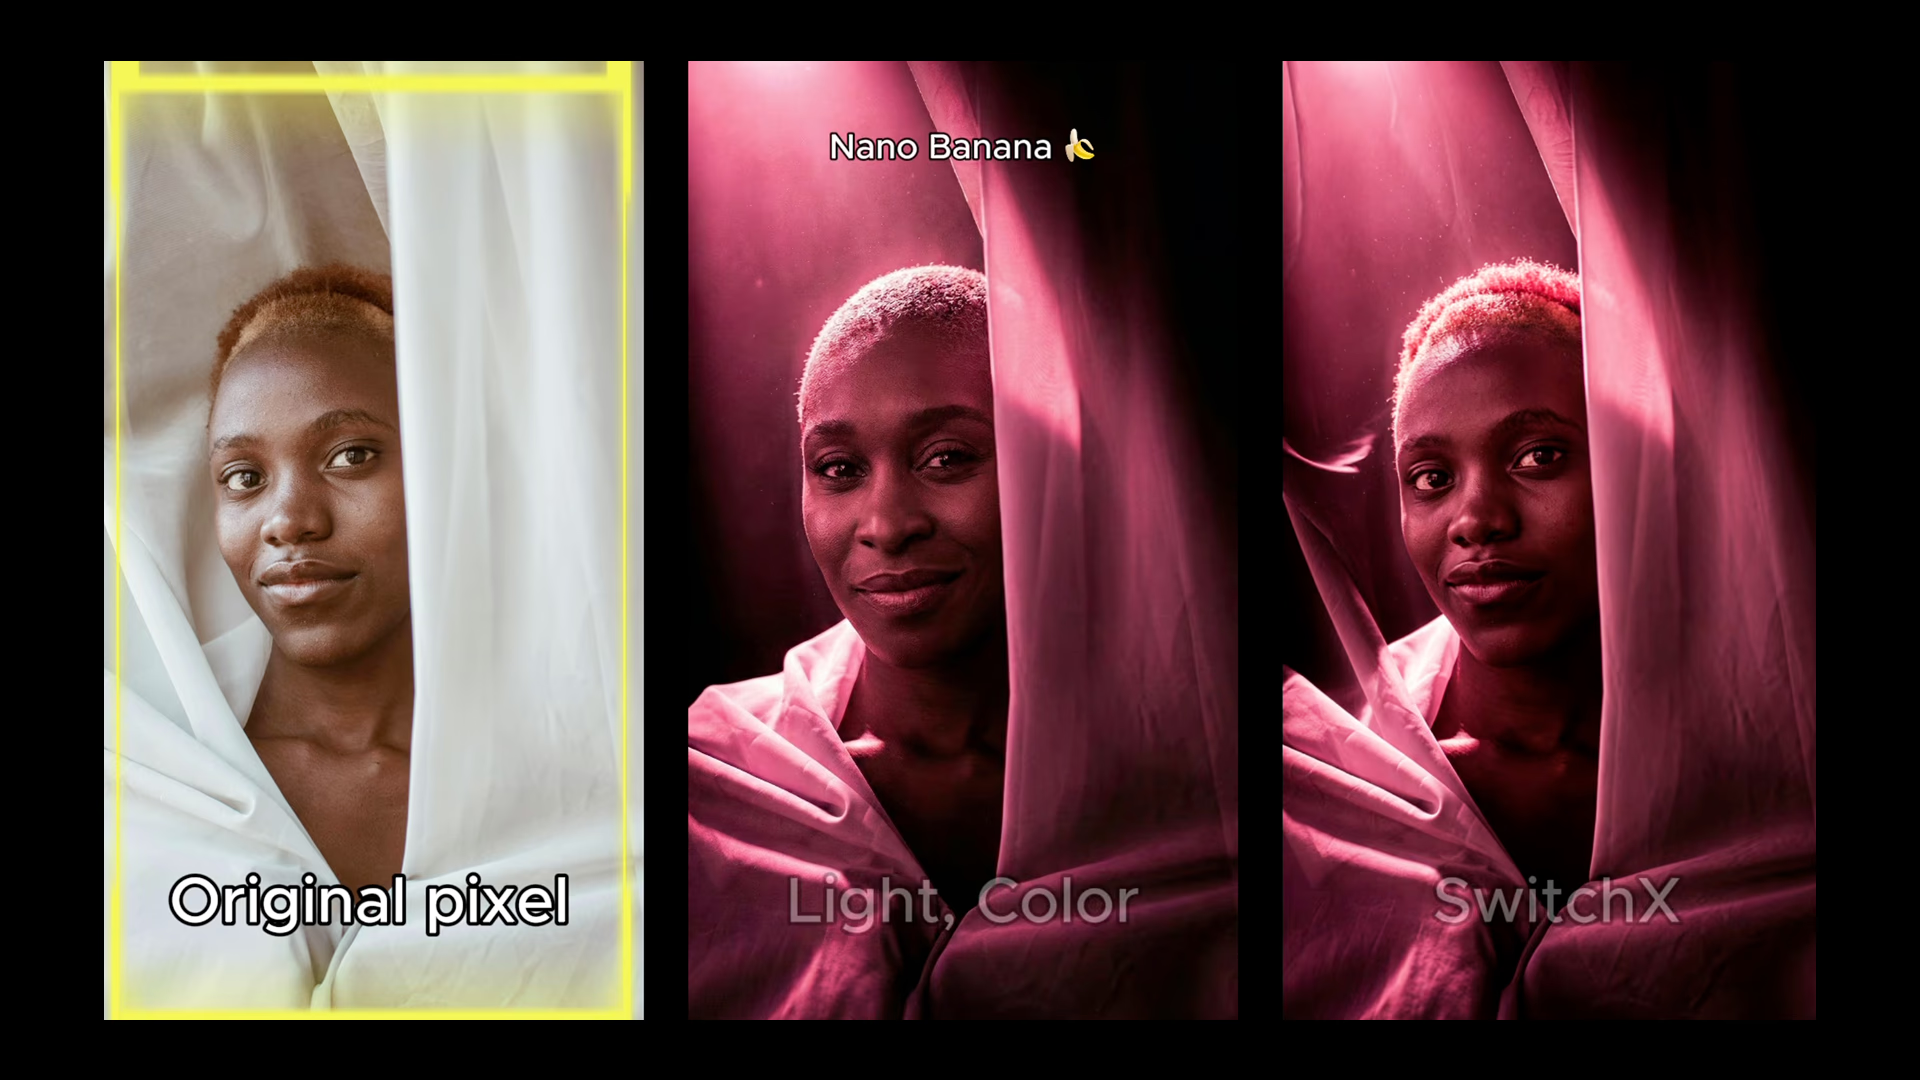
Here's how SwitchX interprets it:
- In masked regions, it generates new elements inspired by the reference.
- In unmasked regions, it transfers lighting and style while preserving original pixel identity.
This is why faces remain consistent. Even if your reference image contains a slightly different version of the subject, perhaps generated elsewhere, SwitchX understands the original pixel data and applies lighting without overwriting identity.
The structure remains grounded. The performance stays intact.
Pro tip: Refine before you generate
If you want expert-level results, don't just upload a reference image — edit it.
Open your reference in Adobe Photoshop. Adjust the color grade. Add props. Refine shadows. Shape the mood precisely.
Then bring that refined image into SwitchX.
And that's it!
Master your alpha mask.
Perfect your reference image.
And enjoy SwitchX.