Relight realistic car plates with Beeble Canvas
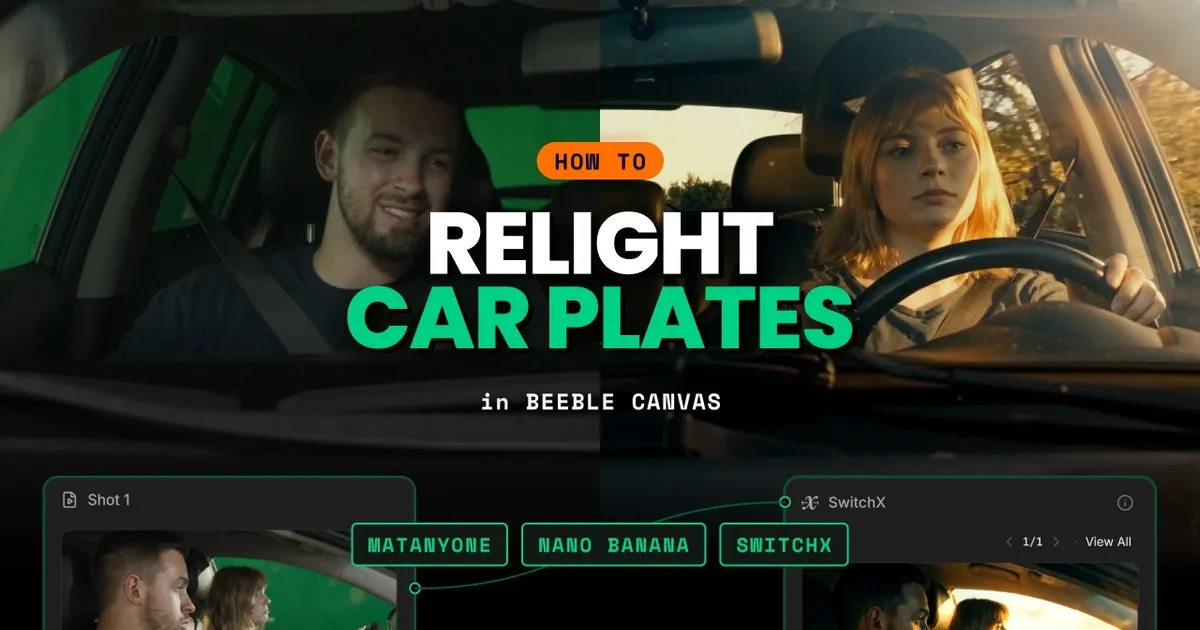
Car scenes shot against a green screen give filmmakers control over the background, but replacing the plate is only part of creating a convincing final shot. The lighting, reflections, and atmosphere inside and around the vehicle also need to feel like they belong to the new environment.
In this Beeble Canvas tutorial, we use green screen footage of two actors in a car, replace the background with a driving plate, and relight the entire shot for a golden hour look.
Using Video Matte, Canvas compositing, Nano Banana 2, and SwitchX, the workflow creates new lighting and reflections across the windshield, car hood, and subjects, helping the foreground and background feel as if they were captured together.
Watch the tutorial
Practice footage provided by ActionVFX.
The challenge: Making a car plate feel like part of the shot
Replacing a green screen behind a car is relatively straightforward. Making the resulting composite feel convincing is more difficult. The lighting on the actors and the vehicle needs to match the outdoor surroundings. Reflections on the windshield and hood should respond to the environment, particularly if the car is in motion. If the background suggests warm evening sunlight while the foreground retains the lighting of a green screen stage, the two elements immediately feel disconnected.
Traditionally, productions might address this during the shoot with interactive lighting or an LED volume, or recreate the effect through a more involved compositing workflow.
Here, we first build the composite in Canvas, then use a generated reference image to guide SwitchX in relighting the entire shot.
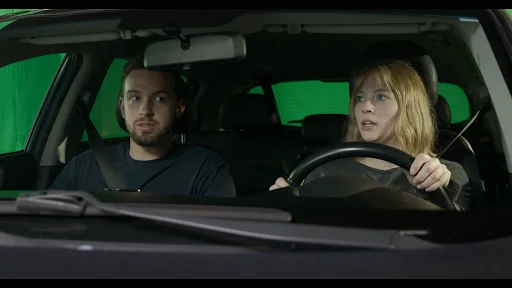 Green screen plate
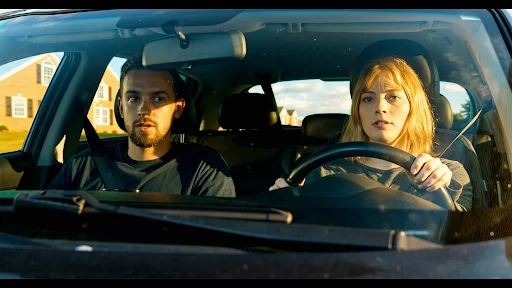 Relit for golden hour
Step 1: Generate a video matte
We begin by isolating the actors and car from the green screen.
Inside the Video Matte node, we choose Select Mode and open the Smart Select tool. Using Point Select, we identify the subjects and vehicle while excluding the green screen background.
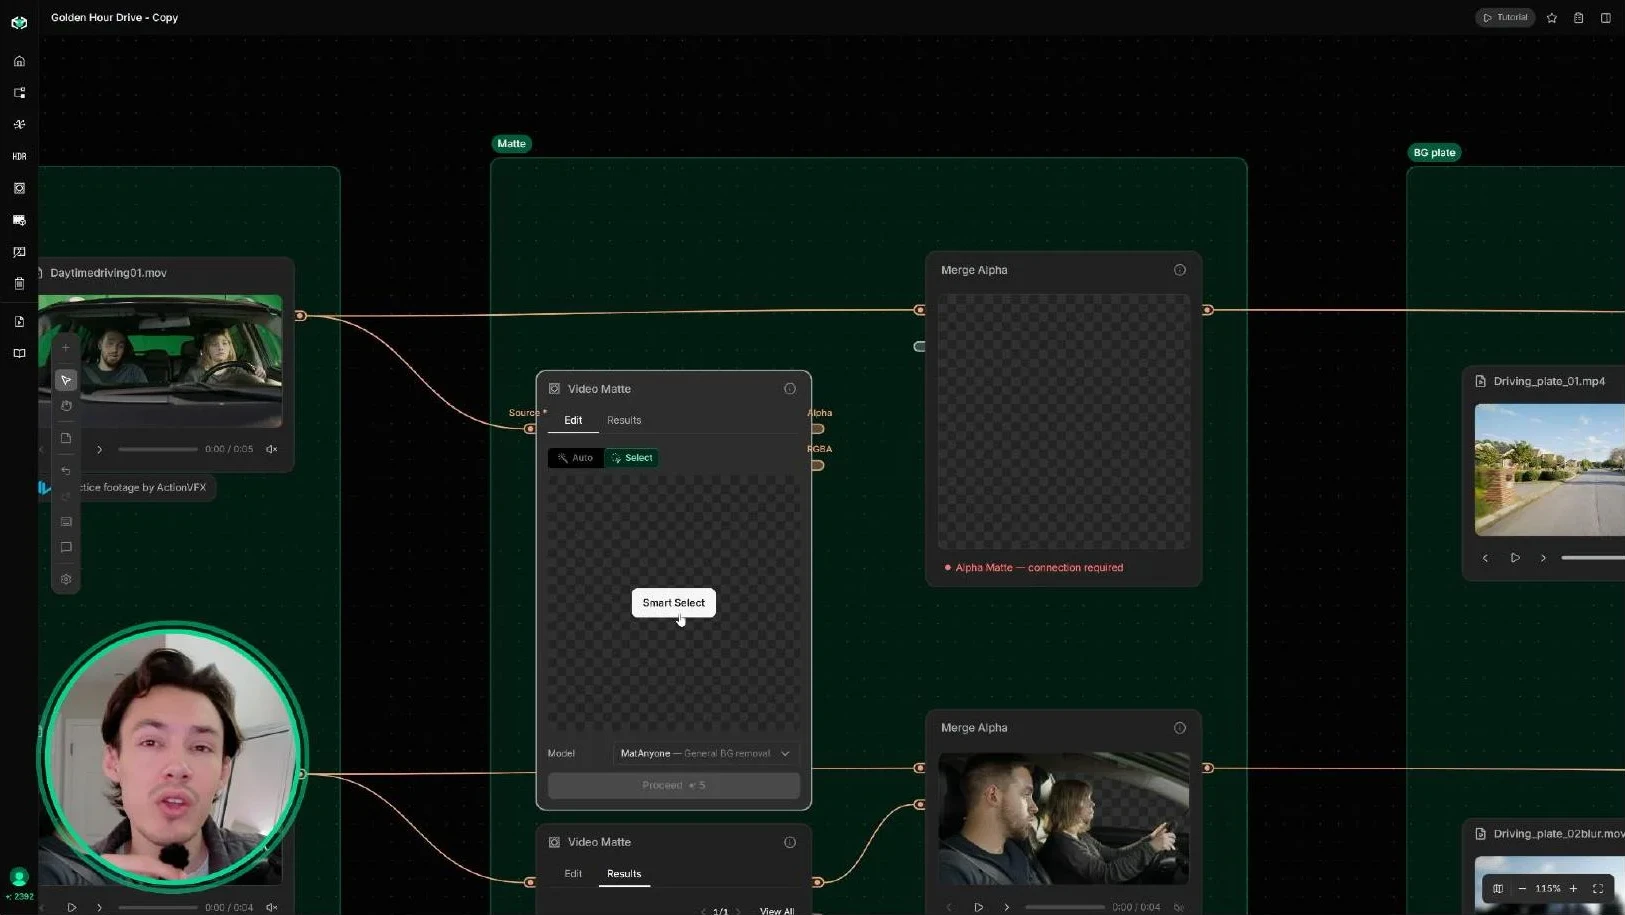
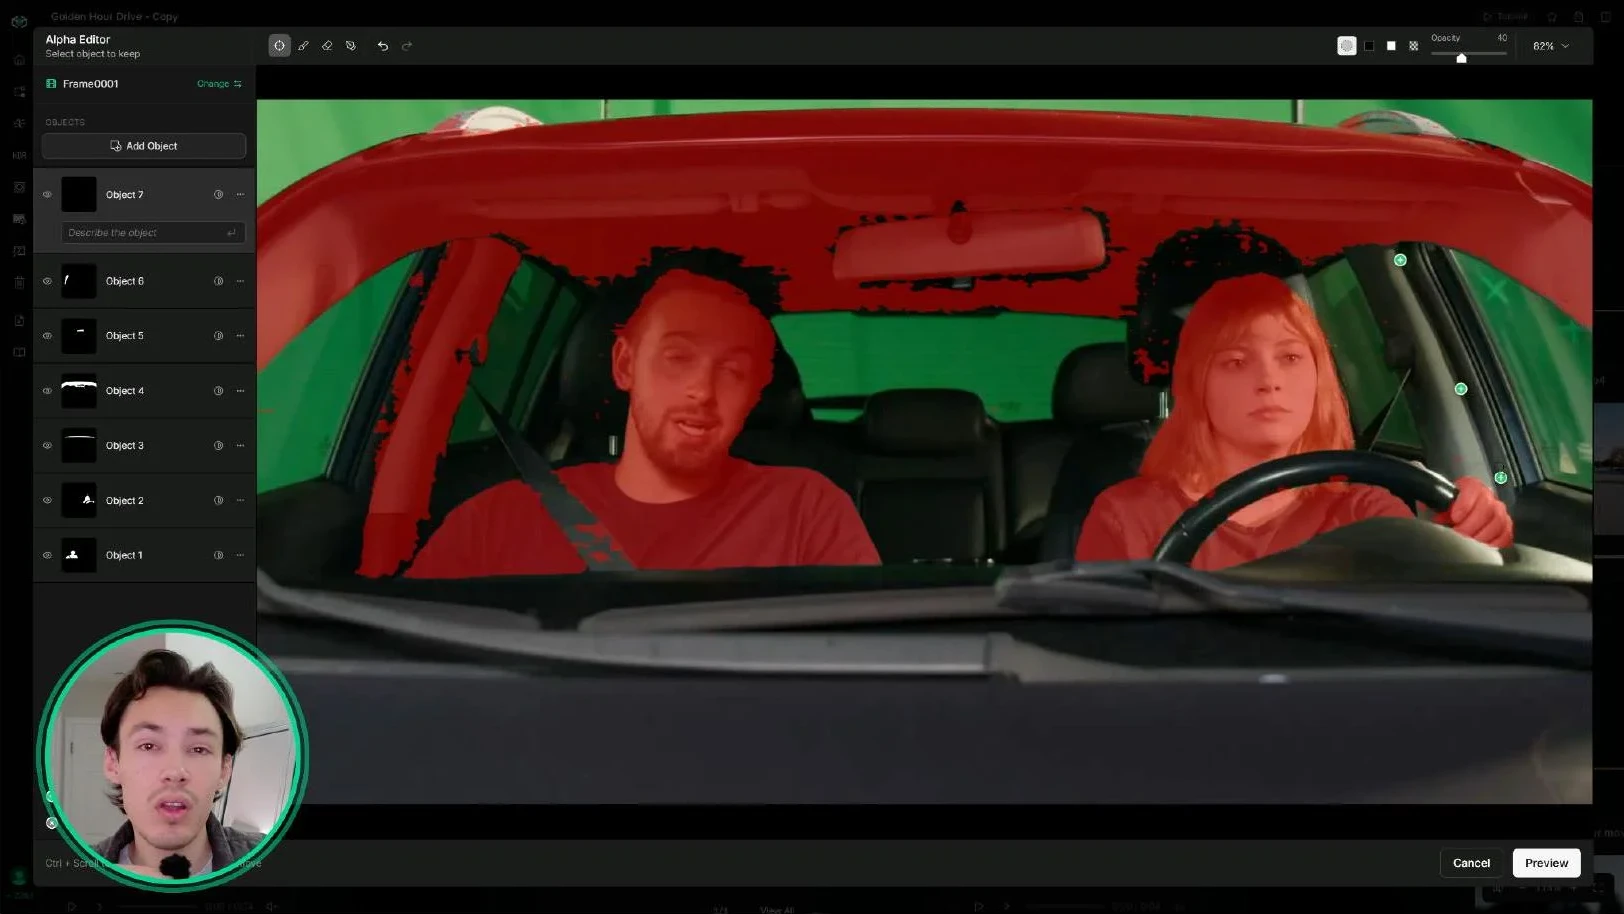
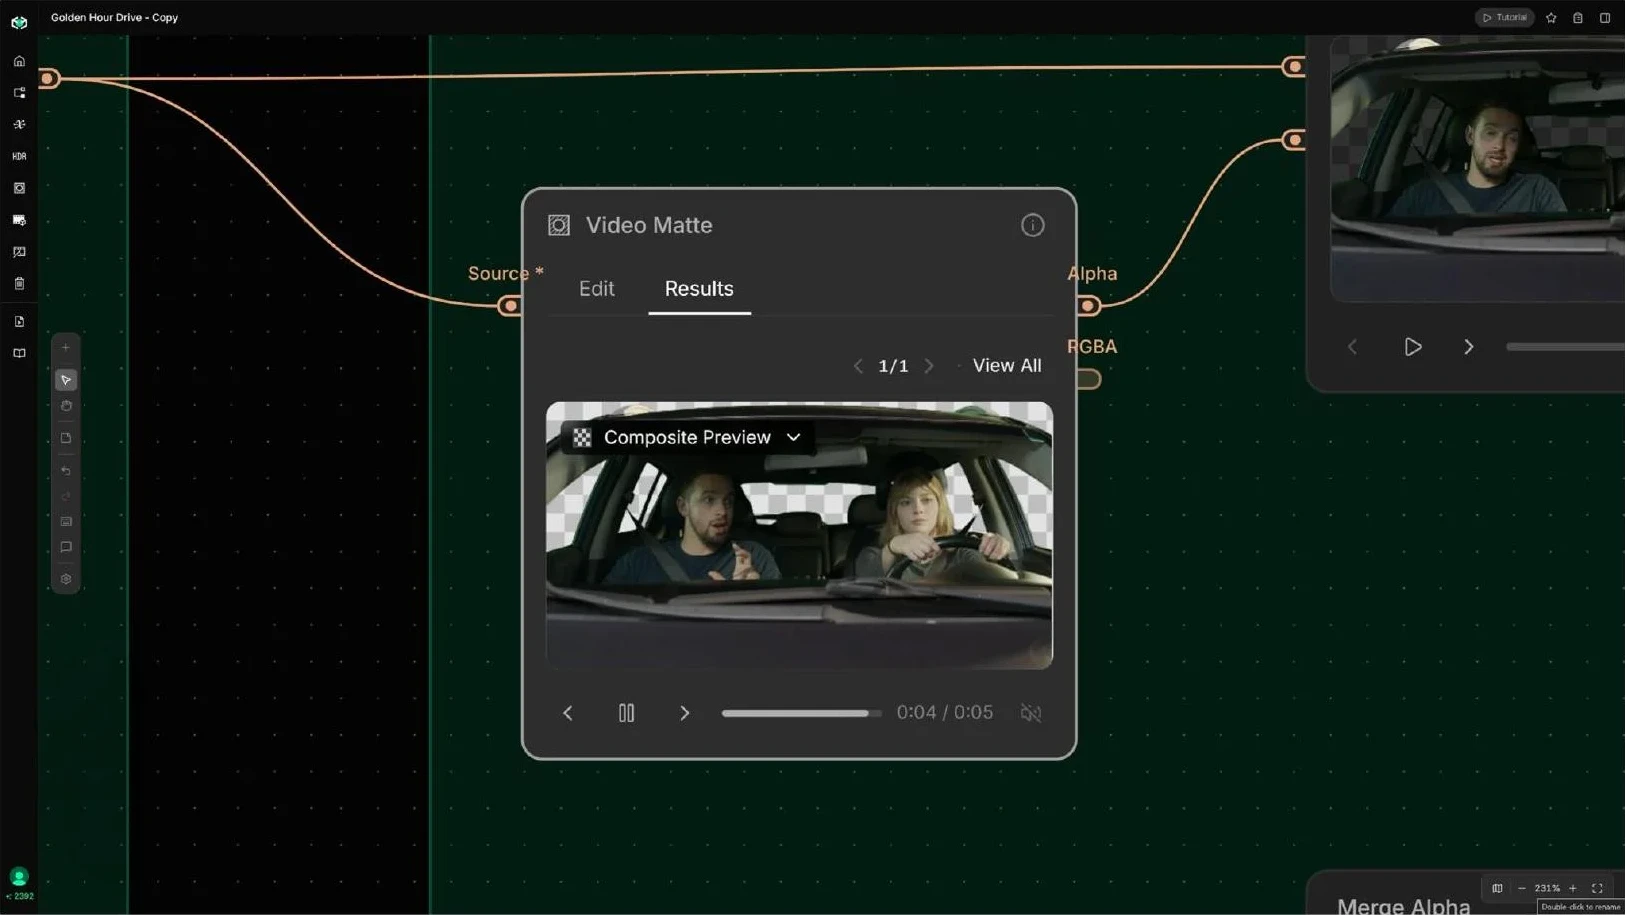
Once the selection is ready, Video Matte propagates the mask across the clip, yielding a foreground plate that can be composited into a new environment.
The important distinction here is that we are not generating a new car or subjects. We are extracting the original foreground so it can remain the foundation of the final shot.
Step 2: Combine the foreground and driving plate
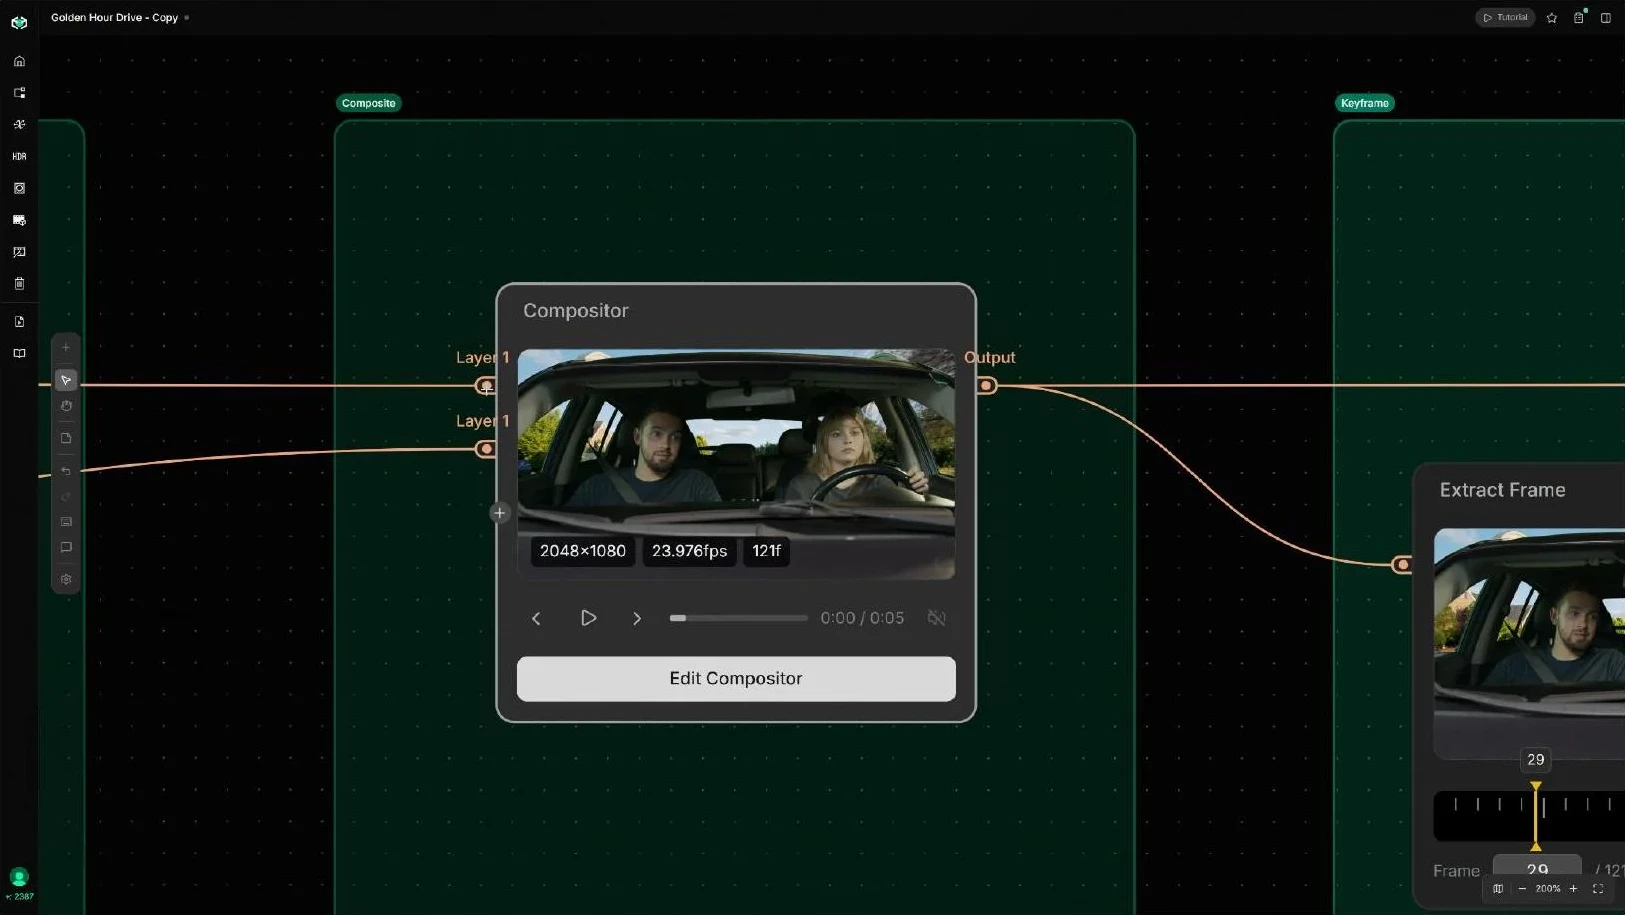
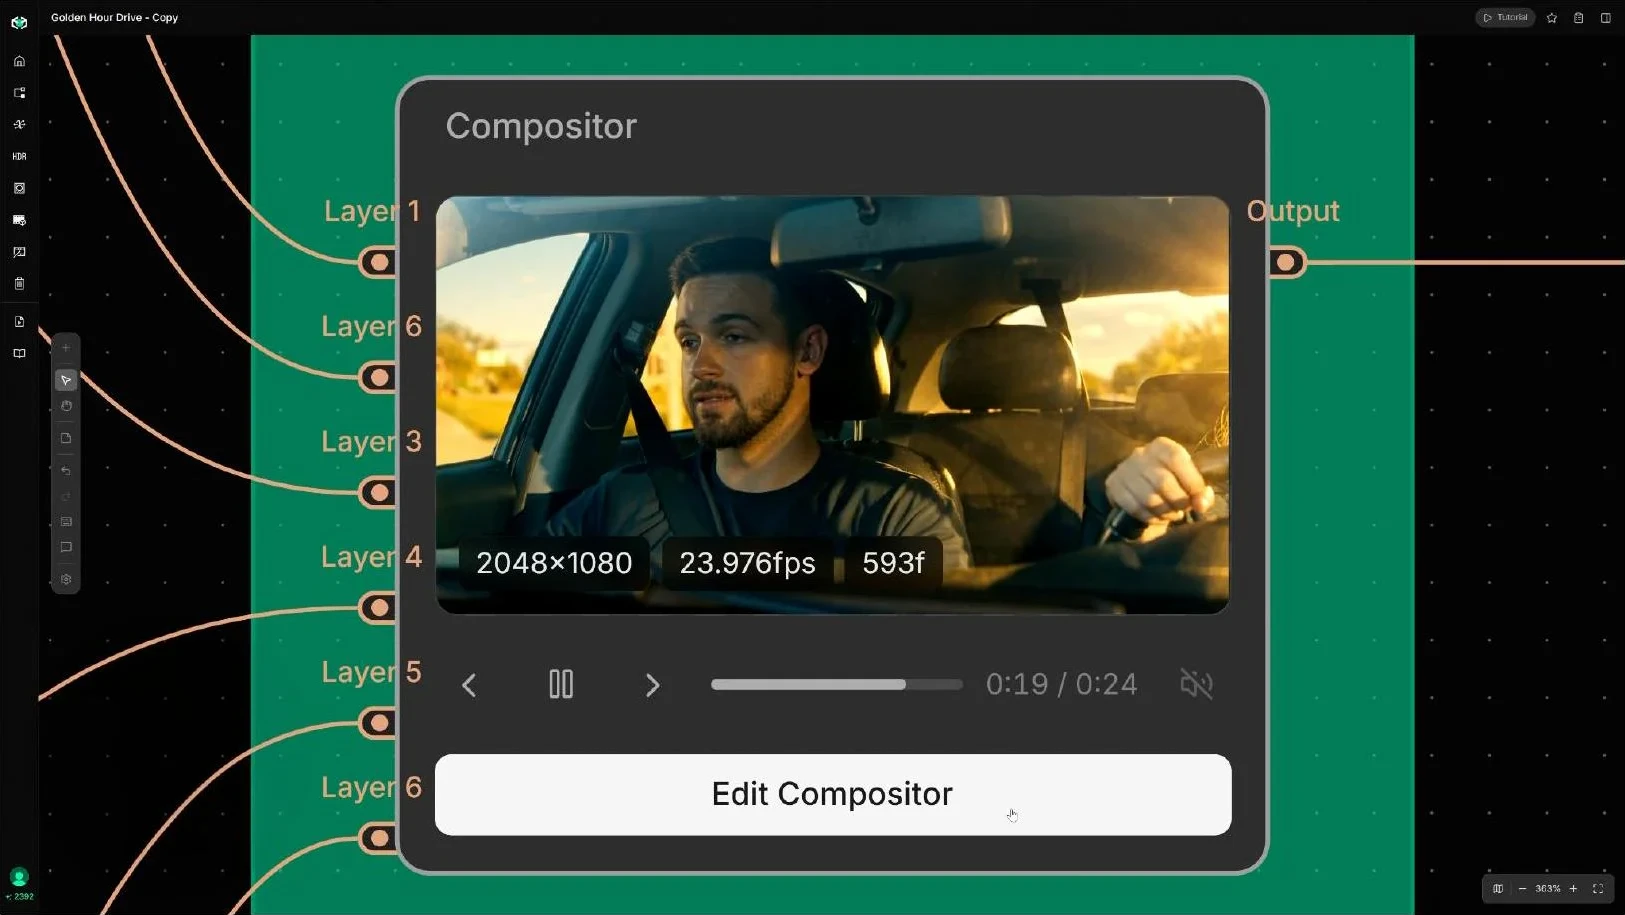
With the matte complete, we bring in the provided driving plate and connect the foreground and background elements to a Compositor node.
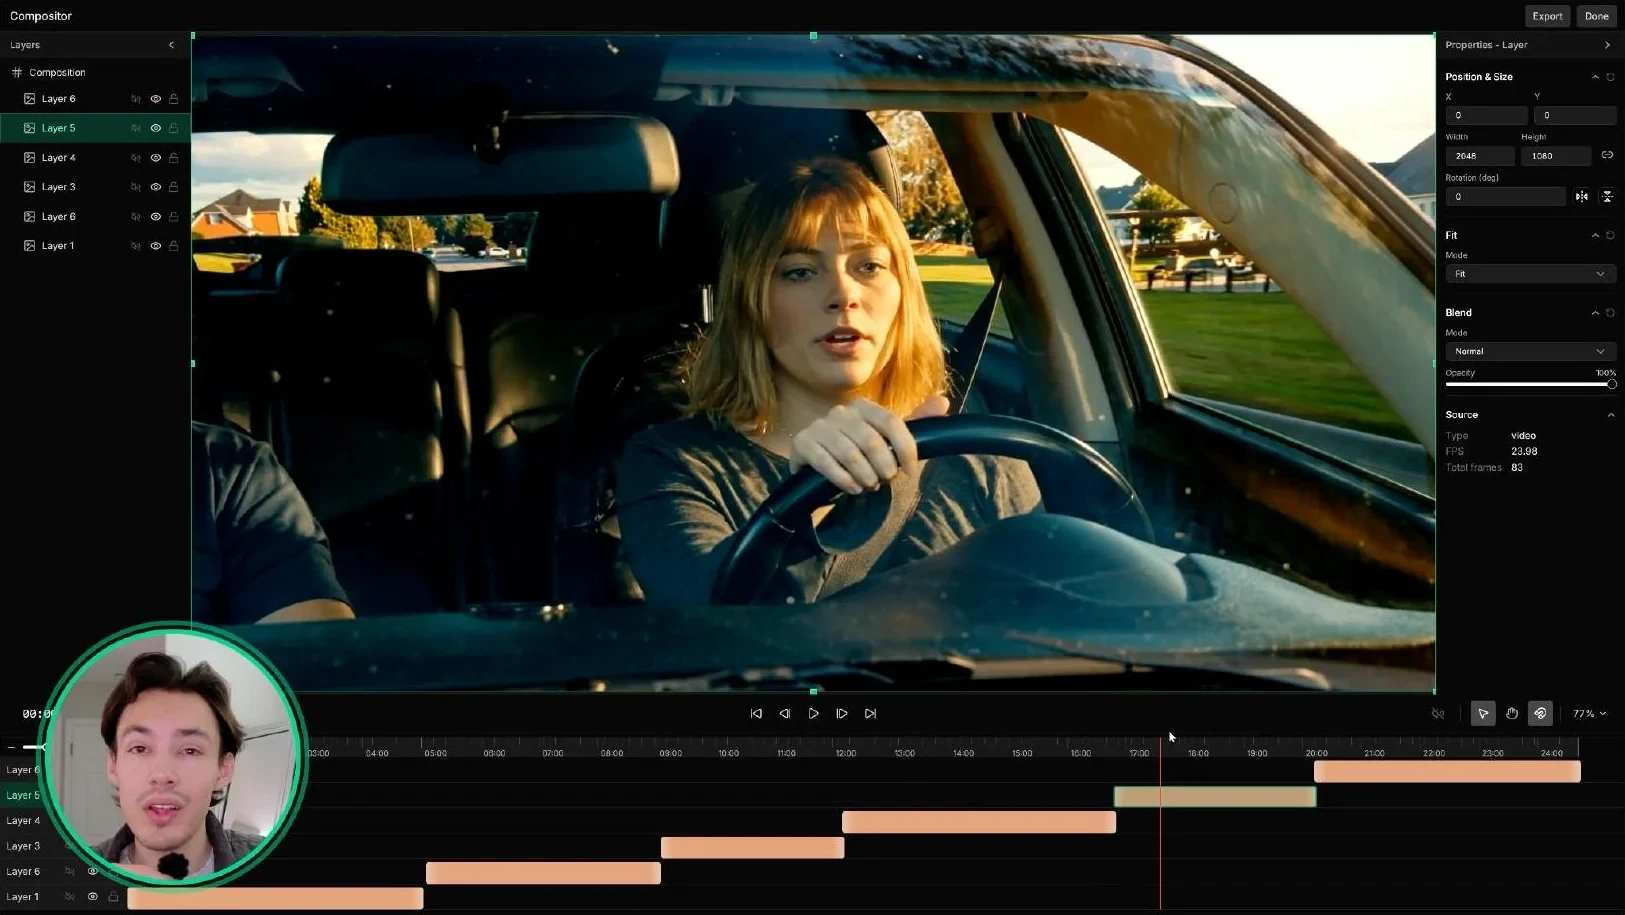
The Compositor works as a layer-based editor, allowing us to position the rotoscoped car footage over the driving plate and establish the basic composition before relighting.
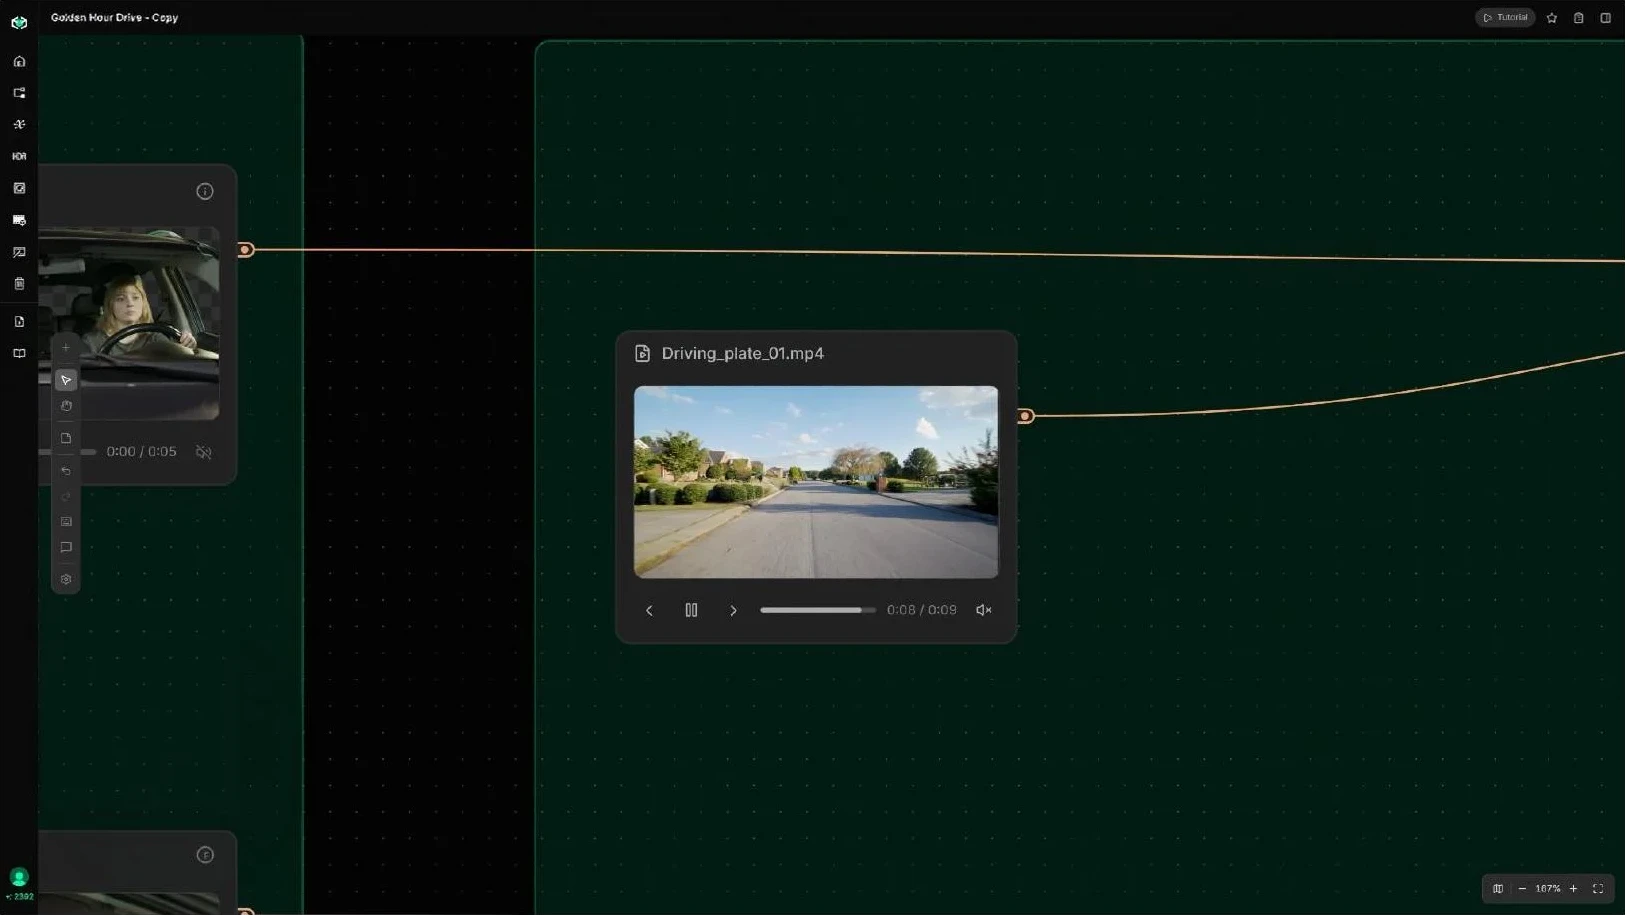
For some shots, we also add a Blur node to the background plate before it reaches the Compositor. This creates a stronger sense of depth of field and helps separate the subjects and vehicle from the environment behind them.
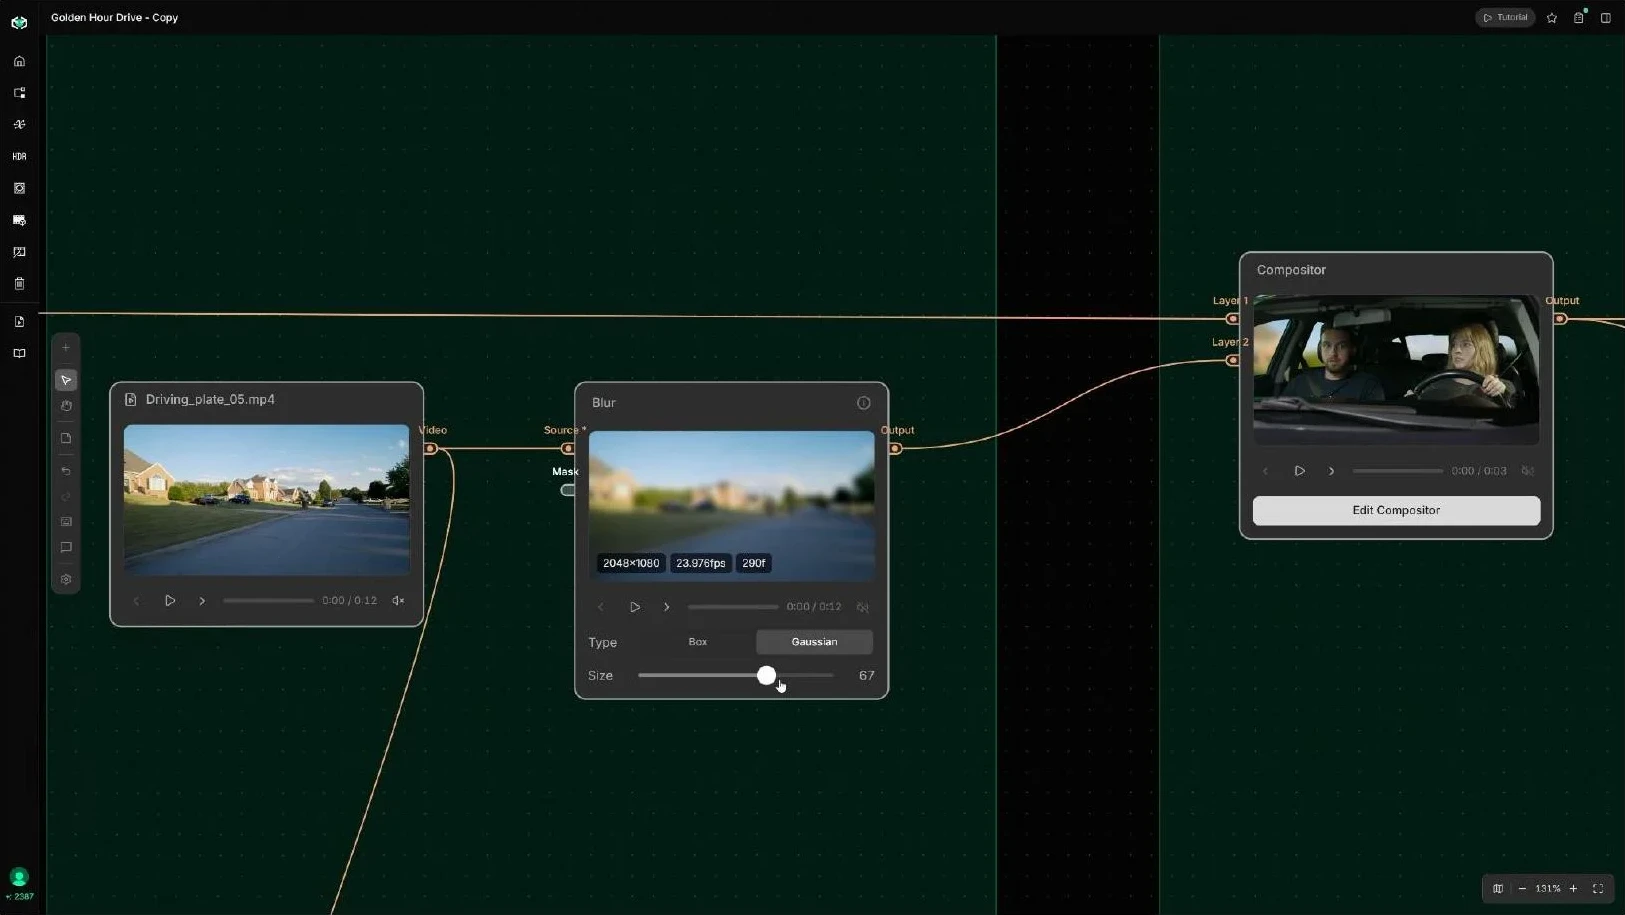
At this stage, the elements are in the right place, but they still carry different lighting characteristics. The next steps are about making them feel like a single image.
Step 3: Create a golden hour reference image
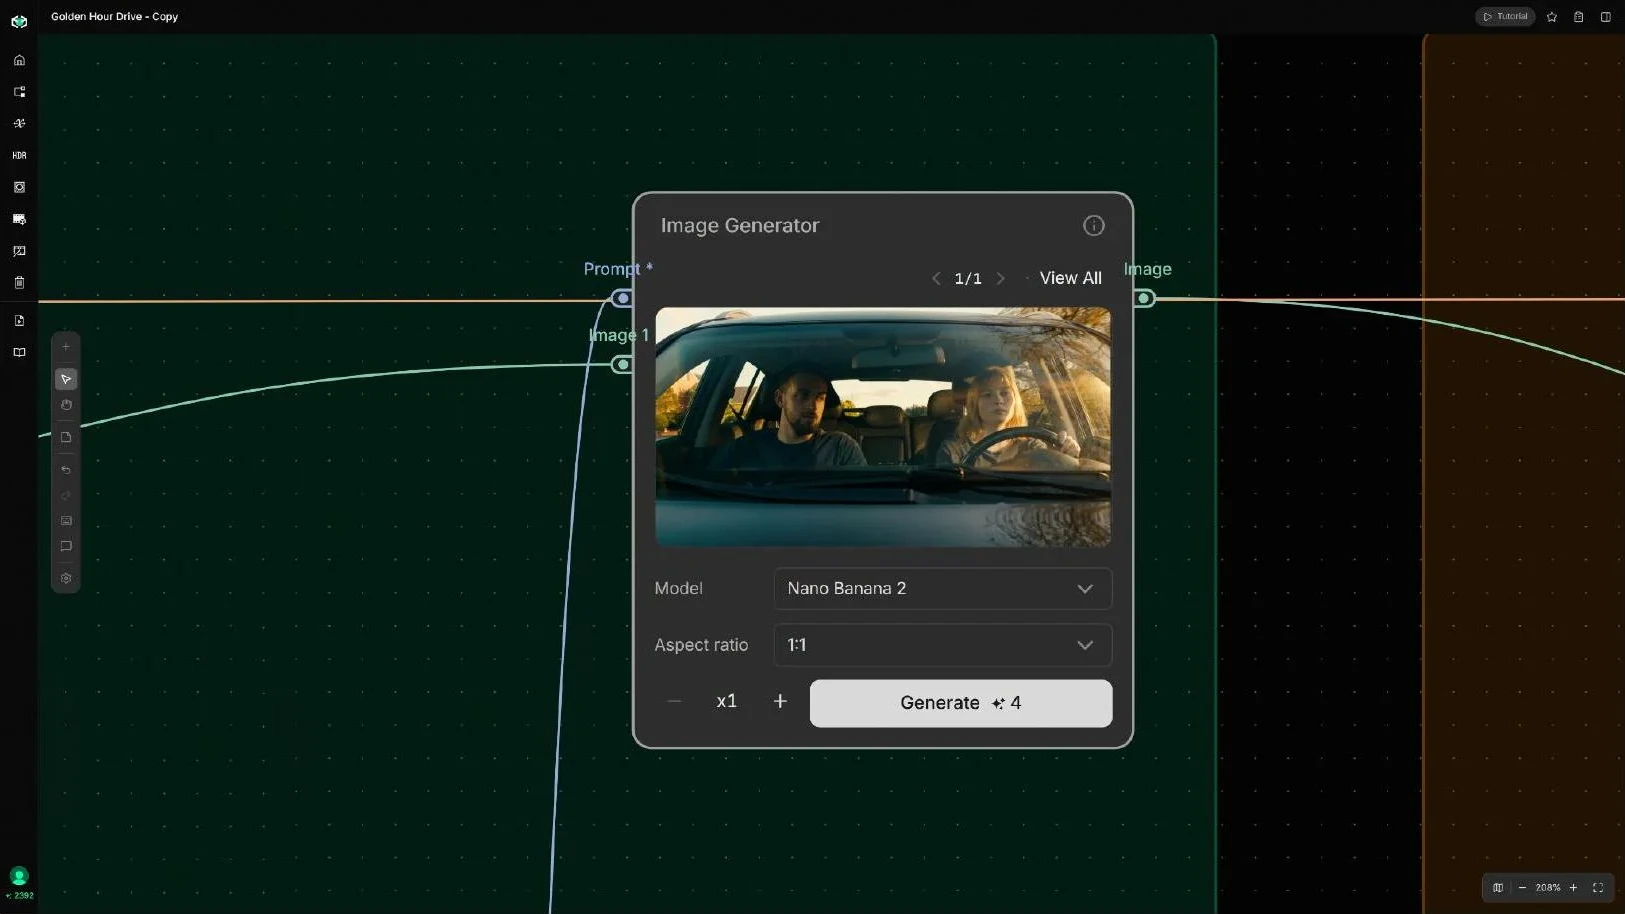
We now extract a frame from the composite and send it to an Image Generator node using Nano Banana 2.
The prompt focuses specifically on the desired lighting: a golden hour treatment with detailed instructions for how the light and reflections should behave across the car.
The background plate is already established, so we want to preserve its details while exploring how the completed shot should look under different lighting conditions.
The resulting image becomes the visual target for SwitchX.
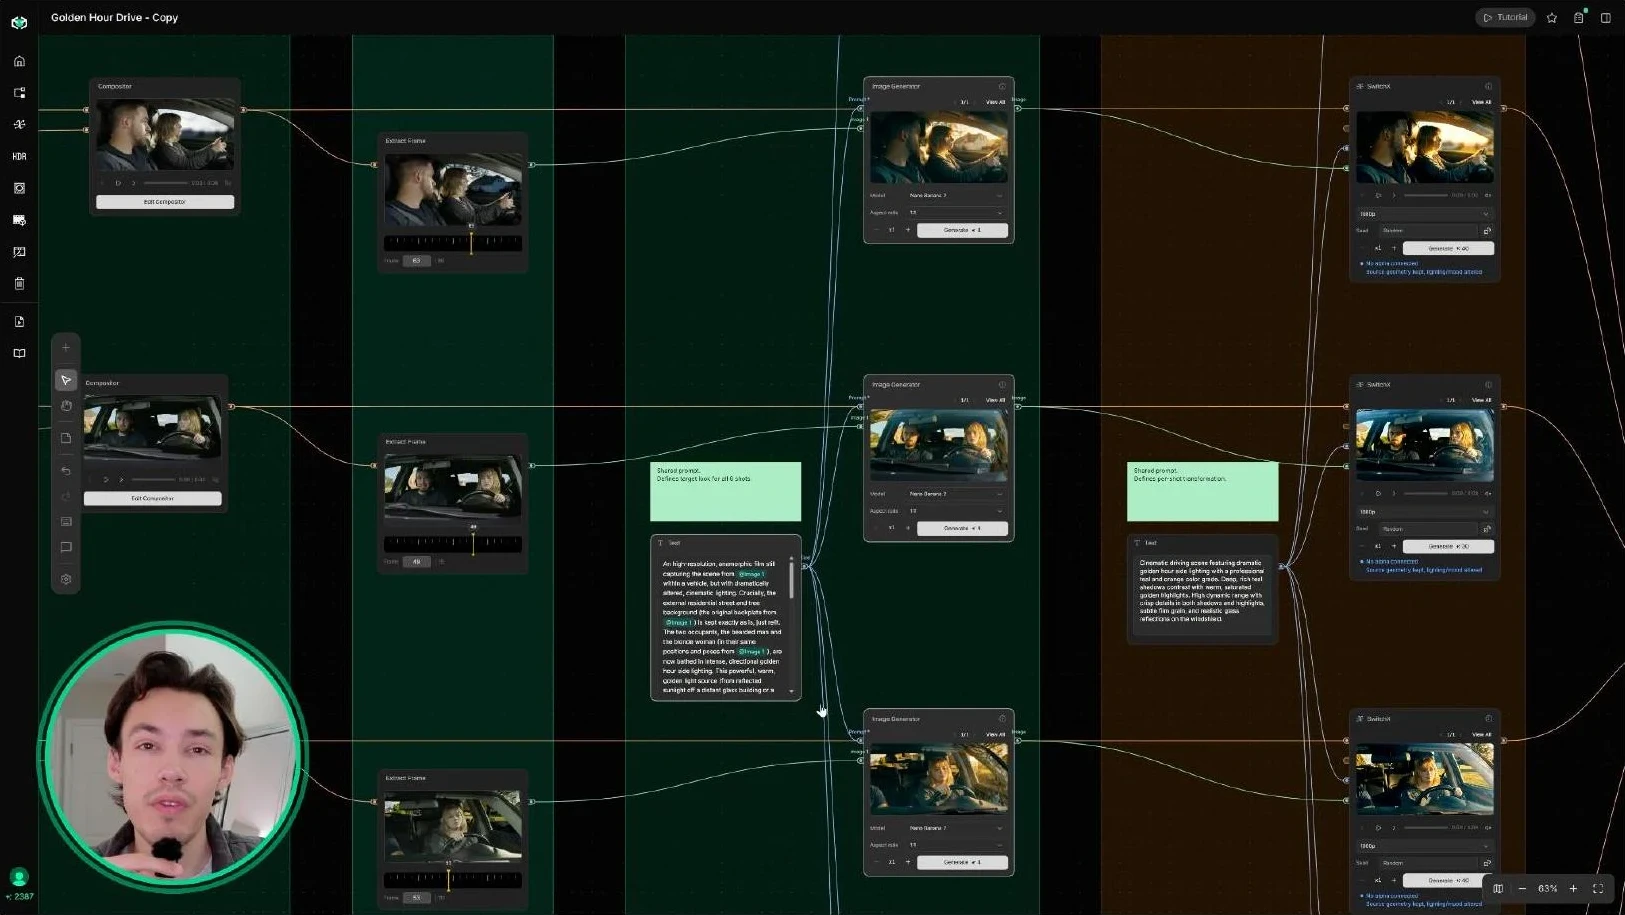
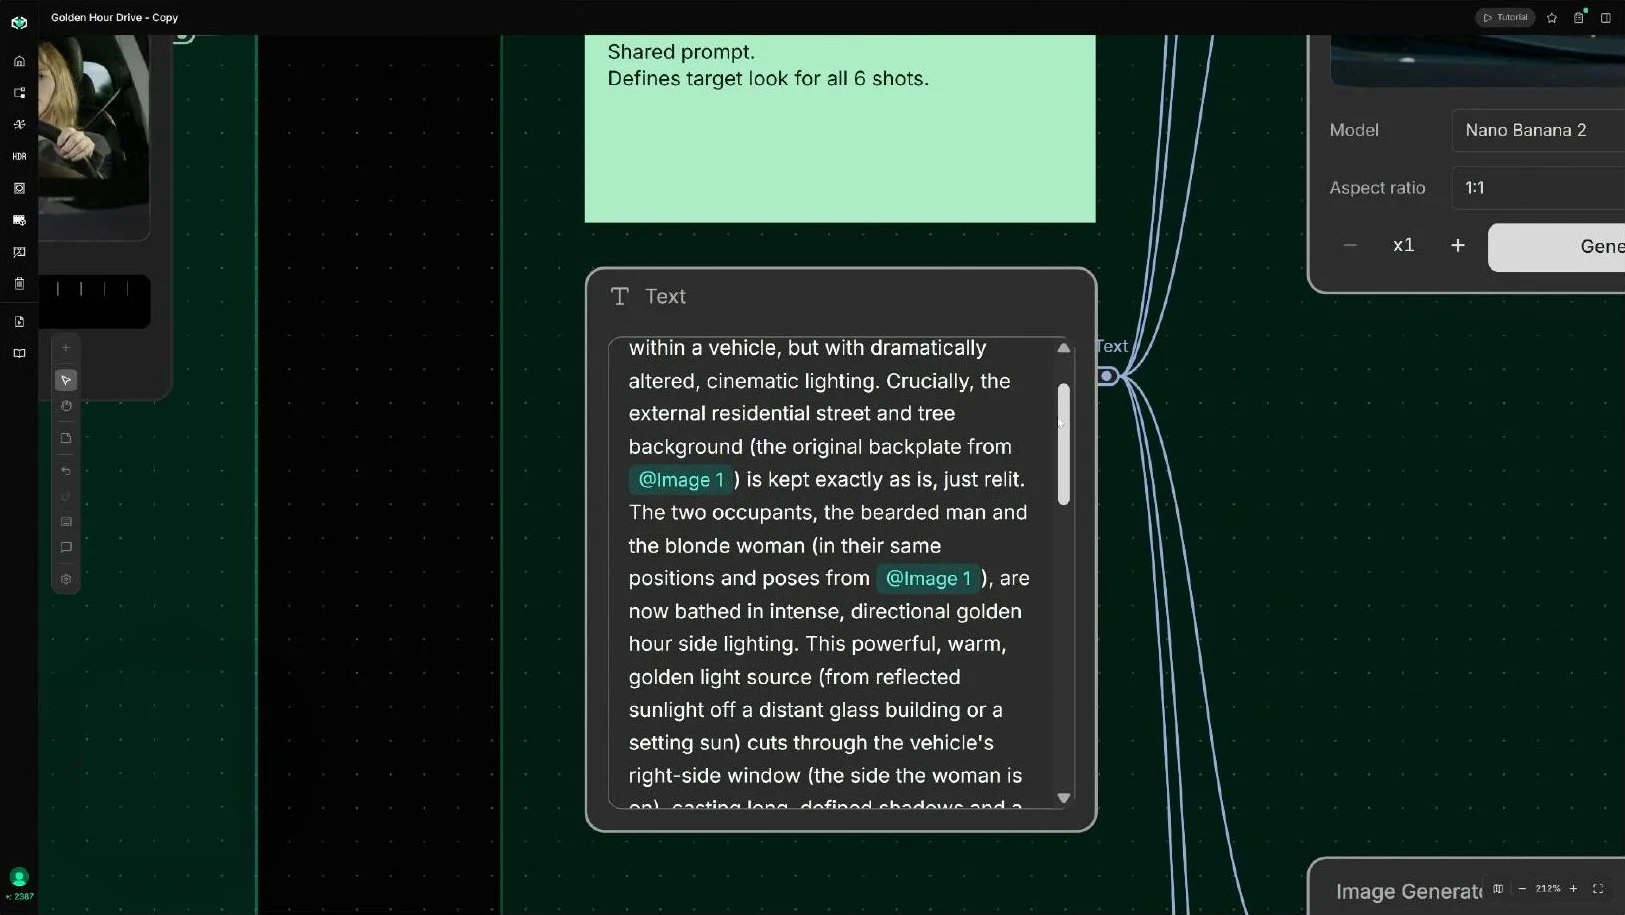
A strong reference is particularly important at this stage because it conveys more than a simple description like "golden hour." It establishes how that lighting should interact with the actors, windshield, hood, and other reflective surfaces in the frame.
Step 4: Relight the shot with SwitchX
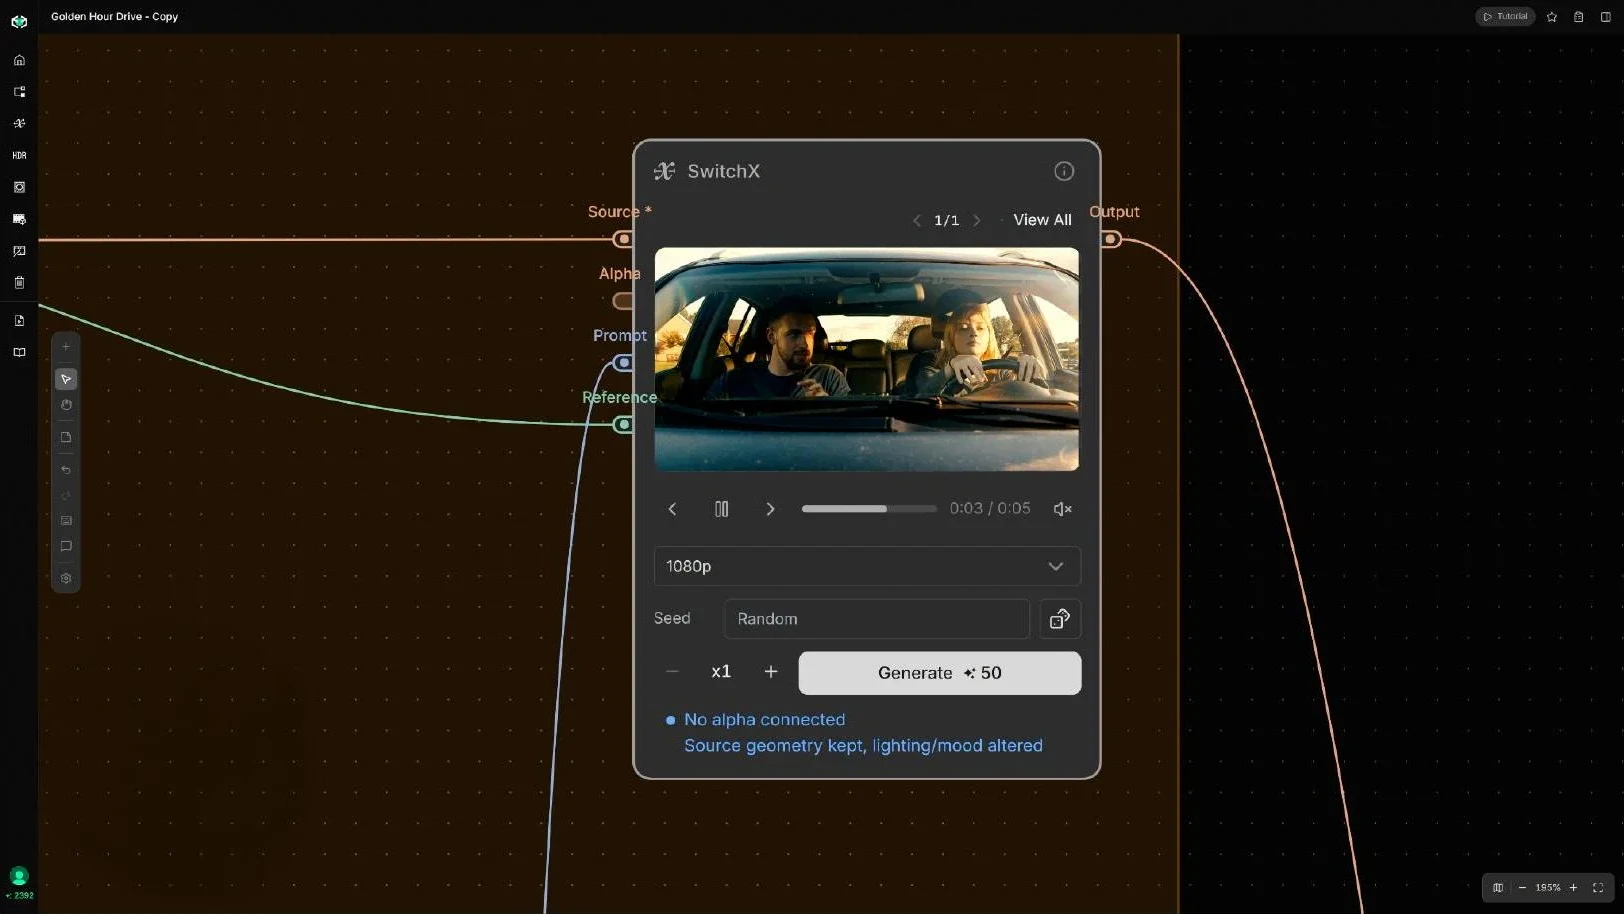
With the reference image complete, we connect the composite to SwitchX.
For this workflow, we leave the alpha input empty. Without an alpha, SwitchX preserves the details across the entire frame and uses the reference primarily to influence lighting and color, equivalent to using Fill Mode in SwitchX.
We also connect a Text node containing a simple description of the reference image, providing SwitchX with additional context for the scene. SwitchX then carries the golden hour treatment from the reference into the moving footage.
The effect goes beyond a conventional color adjustment. New reflections appear across the windshield and hood, while the actors and vehicle respond to the warmer environment. The result helps connect the foreground car plate with the driving footage behind it, making the composite feel like a more cohesive shot.
Step 5: Assemble the final sequence in Canvas
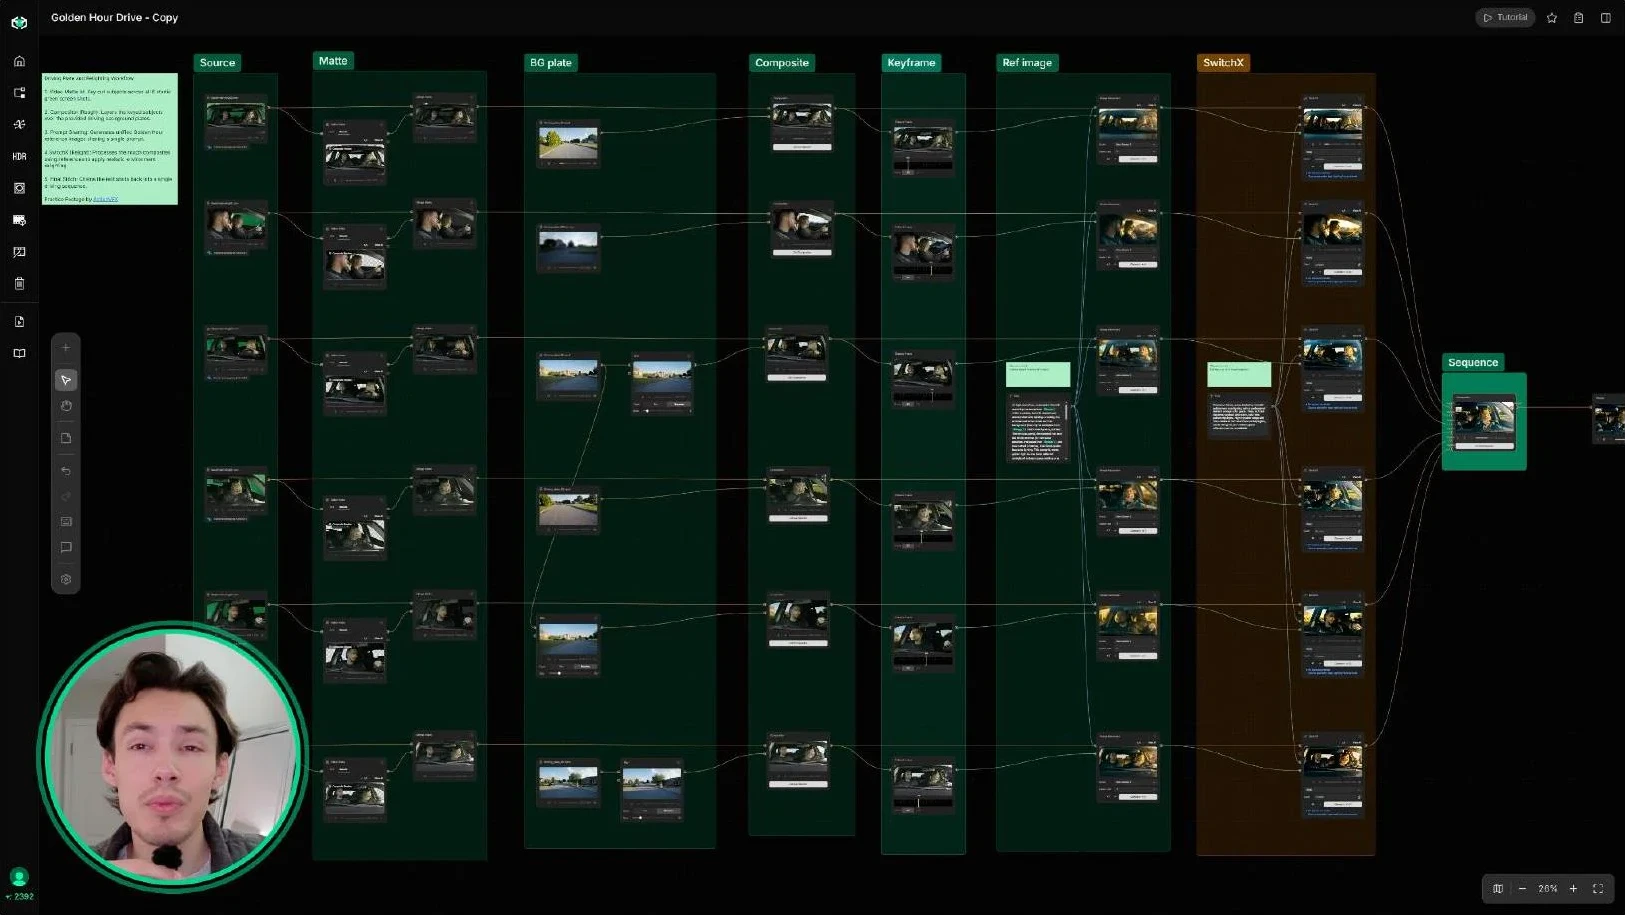
The same workflow can then be repeated across the remaining shots. For this tutorial, six shots are processed using the same overall approach and golden-hour direction, helping to maintain consistency across the sequence.
Once each shot is complete, we connect them to a Compositor node and arrange them on its layer-based timeline. This makes it possible to play back and edit the finished sequence directly inside Canvas without leaving the project.
Credits usage breakdown
Shot 1
- Video Matte = 5 Credits
- Image Generator (Nano Banana 2) = 4 Credits
- SwitchX = 50 Credits
Shot 2
- Video Matte = 4 Credits
- Image Generator (Nano Banana 2) = 4 Credits
- SwitchX = 40 Credits
Shot 3
- Video Matte = 3 Credits
- Image Generator (Nano Banana 2) = 4 Credits
- SwitchX = 30 Credits
Shot 4
- Video Matte = 4 Credits
- Image Generator (Nano Banana 2) = 4 Credits
- SwitchX = 40 Credits
Shot 5
- Video Matte = 3 Credits
- Image Generator (Nano Banana 2) = 4 Credits
- SwitchX = 30 Credits
Shot 6
- Video Matte = 4 Credits
- Image Generator (Nano Banana 2) = 4 Credits
- SwitchX = 40 Credits
Total
- 277 Credits = approx $9.23
Why this workflow matters
Car scenes are a good example of why background replacement alone is rarely enough.
Vehicles contain reflective glass, glossy bodywork, and complex surfaces that respond visibly to their surroundings. When a background changes, those interactions need to change too if the shot is going to feel believable.
This Canvas workflow brings those stages together. Video Matte handles the foreground extraction, the Compositor establishes the new environment, an Image Generator creates a clear visual target, and SwitchX carries that lighting direction back into the moving footage.
For filmmakers and VFX artists working with green screen car footage, it provides a way to explore different environments and lighting conditions while preserving the original performances, vehicle, and photography.
All assets used in the tutorial are available on Beeble as a Canvas project template, so you can open the workflow and experiment with it directly.